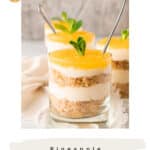
Indulge in this irresistible Pineapple No-Bake Cheesecake in a Jar! Tangy pineapple puree made with fresh pineapple melds perfectly with a smooth and creamy cheesecake layer, and topped off with a buttery biscuit crust. The perfect individual treat, grab a spoon and dive in!
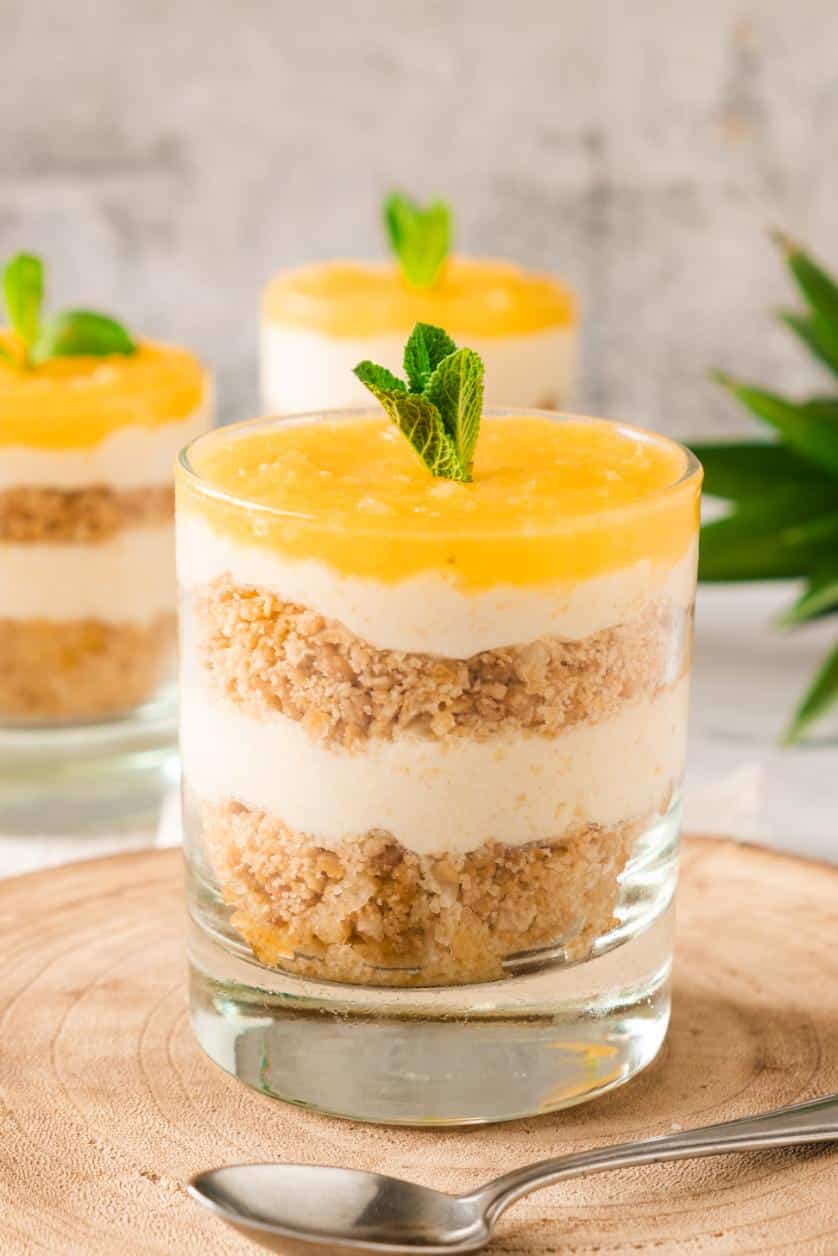
If you are here that means you love making up little jars of deliciousness (or you want to). Try this plum, granola, and yogurt parfait cups, or this chocolate chai yogurt breakfast parfait 😊
No-Bake Cheesecake In A Jar
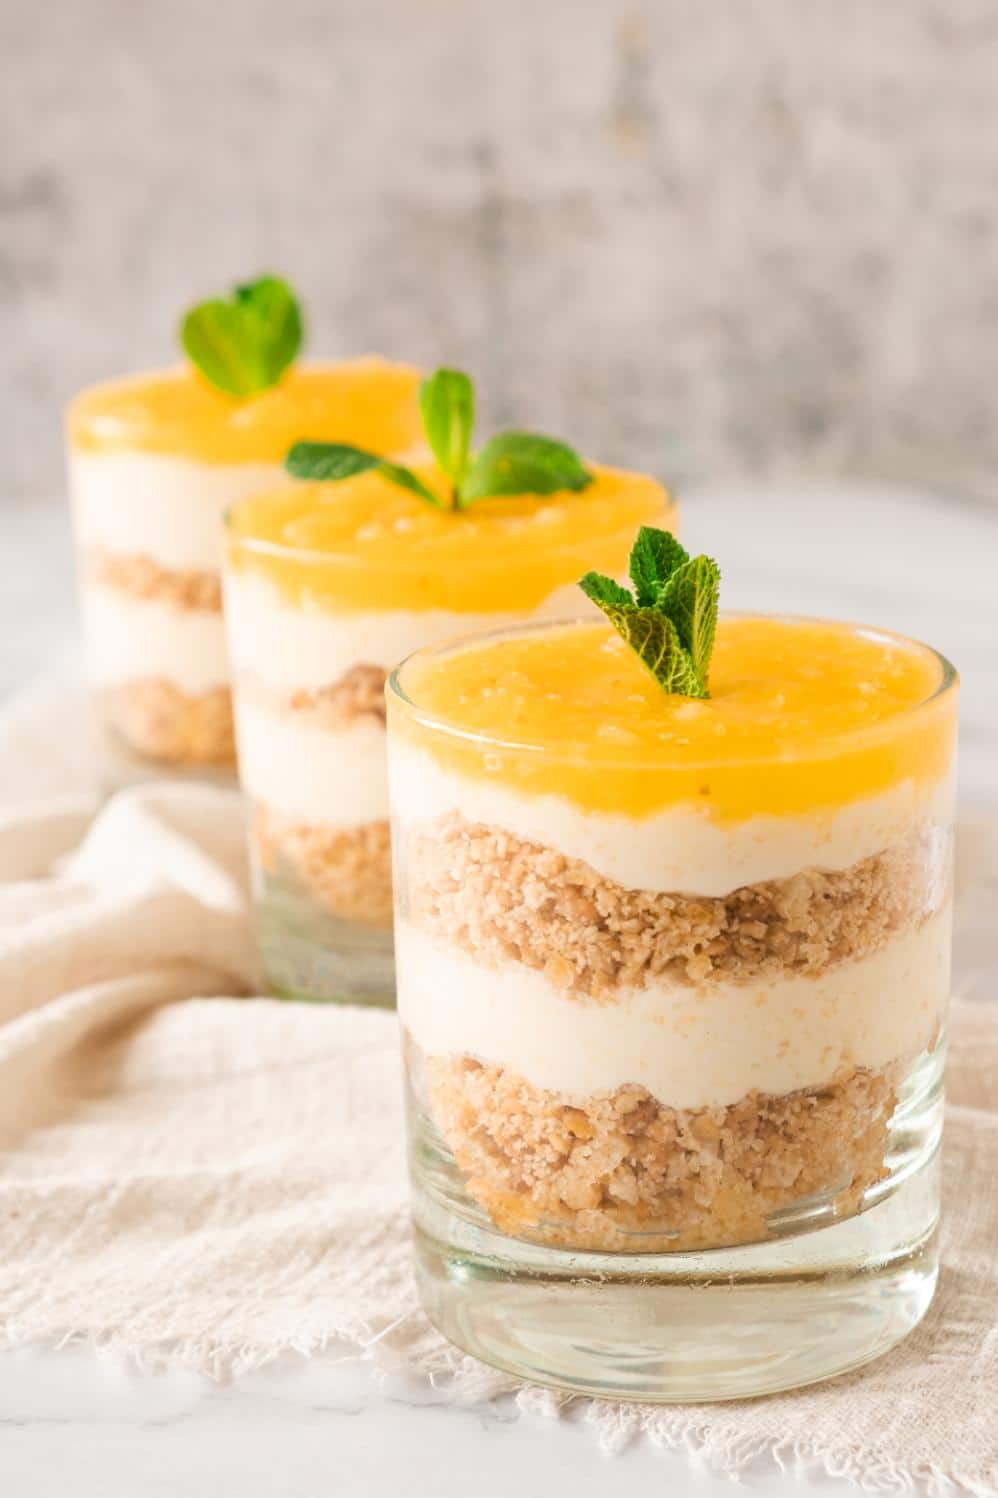
Welcome fellow cheesecake lover, I just know you are going to enjoy these individual cheesecakes in a jar.
Why?
Because they:
- are no-bake: yep that's right, no need to heat the kitchen, or faff around with temperatures, these are simply layered in a jar and good to go;
- individual portions: making them perfect for single-serve desserts;
- transportable: making them great for picnics, or packing for a nice sweet treat for lunch;
- made with fresh pineapple: this way we get to control the added sugar;
- super versatile: meaning you can swap and change ingredients according to what you have on hand, and your preferences;
- easy to make: so much easier than a traditional cheesecake recipe.
Plus, they happen to taste quite delicious!
Ingredients
Be sure to scroll to the recipe card at the bottom of this post for the full recipe.
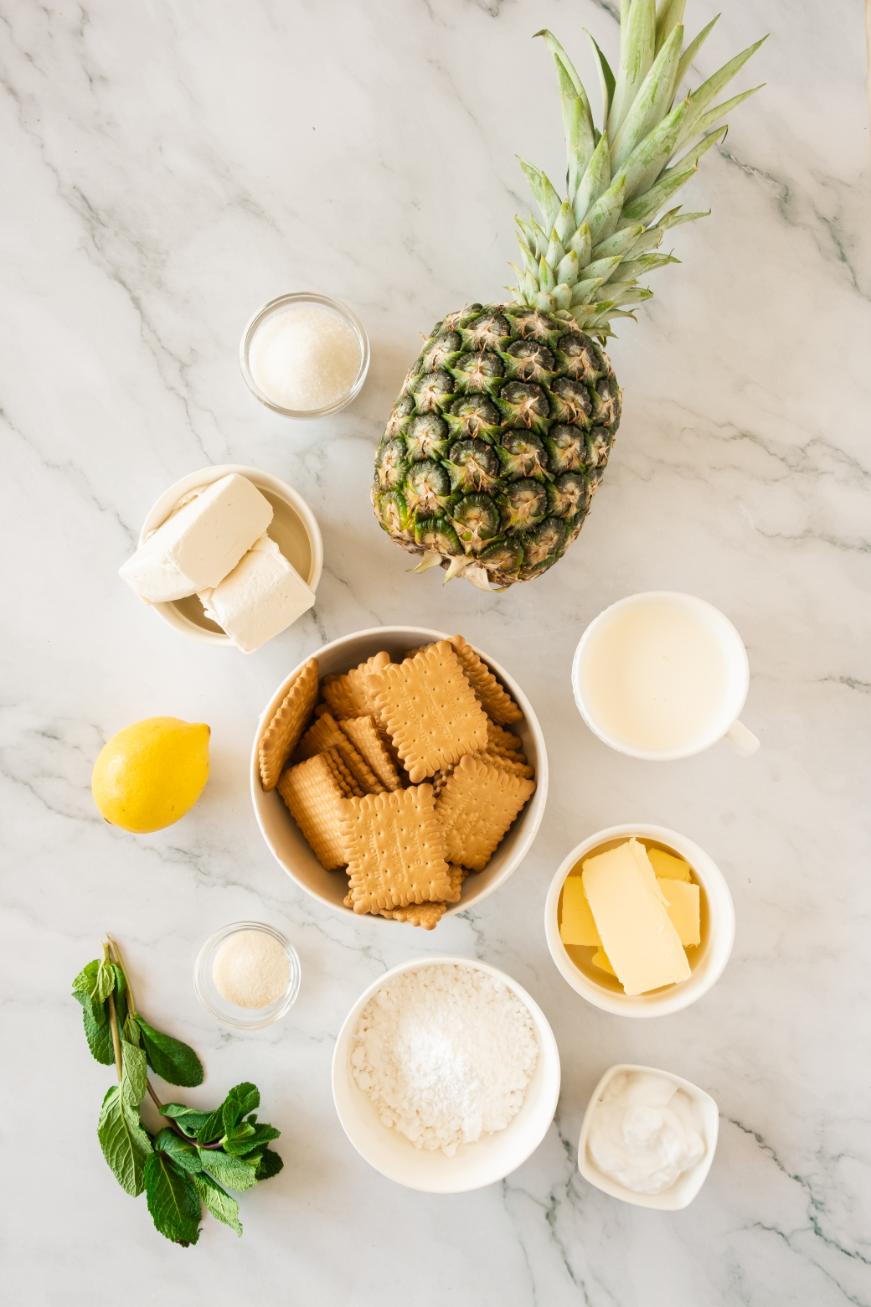
We use fairly simple and easy-to-find ingredients for this no-bake cheesecake recipe, however, I do have a few notes for you, to make creating this little dessert as easy as possible.
You are going to need:
- Fresh pineapple: I use one whole fresh pineapple for this, however, if it is not in season, you could use canned pineapple. Be sure to check the ingredients, and opt for the pineapple in juice, rather than syrup if you are concerned about sugar;
- Granulated sugar: I use granulated monk fruit sugar, however, you could use regular white sugar if you prefer. Change up the amount of sugar depending on how ripe your fruit is (add less sugar if you have a super ripe pineapple);
- Gelatin: I use this natural gelatin;
- Cream cheese: we recommend using full fat cream cheese;
- Heavy whipping cream;
- Yogurt: I use coconut yogurt, but regular plain yogurt would work also;
- Powdered sugar: I use a stevia-based powdered sugar, however regular powdered sugar would work if you prefer;
- Lemon zest;
- Biscuits/Cookies: In Australia, I use Marie biscuits, however, if you are in the US you may want to use graham crackers or graham cracker crumbs. If you want to take it a step further, you could always make homemade graham crackers;
- Unsalted butter;
- Fresh mint to serve: this is optional.
You may also want some toasted coconut flakes or crushed nuts to top everything off if you like a little added crunch.
Assembly Instructions
This is so quick and easy to put together, especially as it is a no-bake recipe, so no need for heating the kitchen.
Let's start with the pineapple puree.
Grab your fresh pineapple and remove all of the tough outer skin, chop up the flesh, and add it to a saucepan with sugar, and mint leaves.
Pop the lid on and cook everything together until the pineapple breaks down and you get an almost smooth puree.
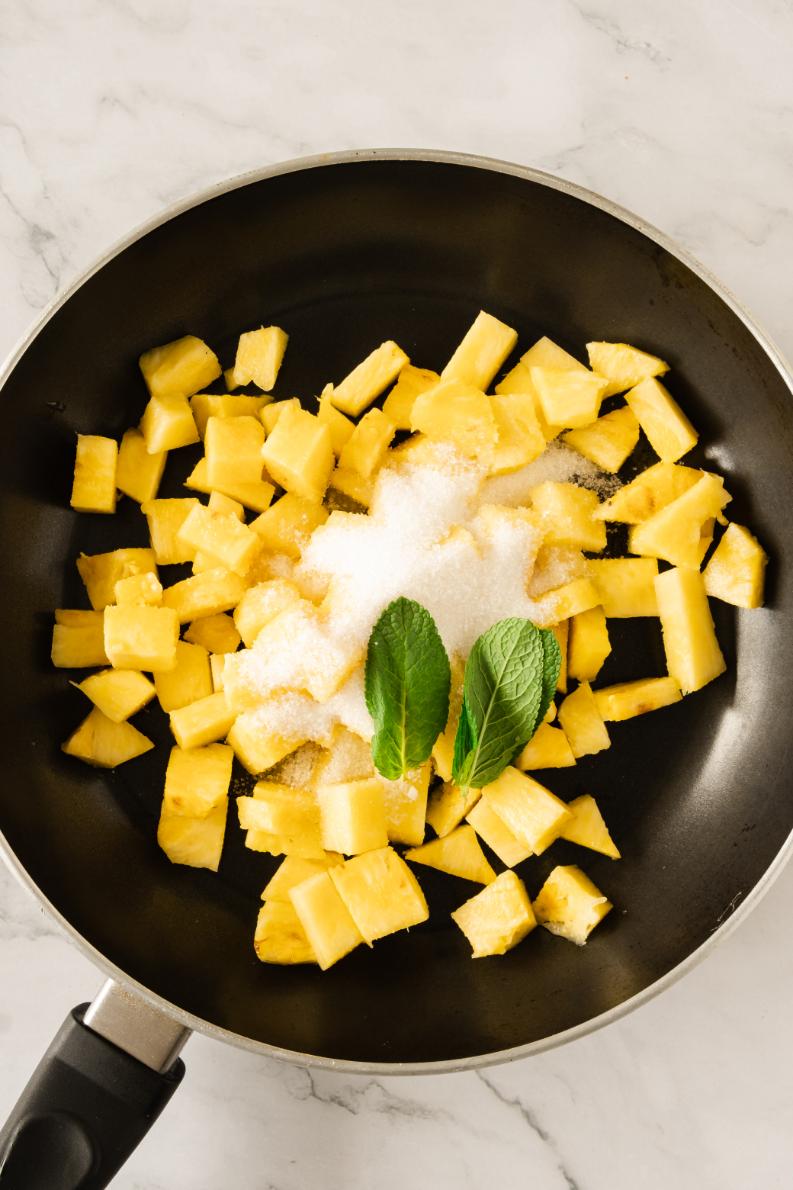
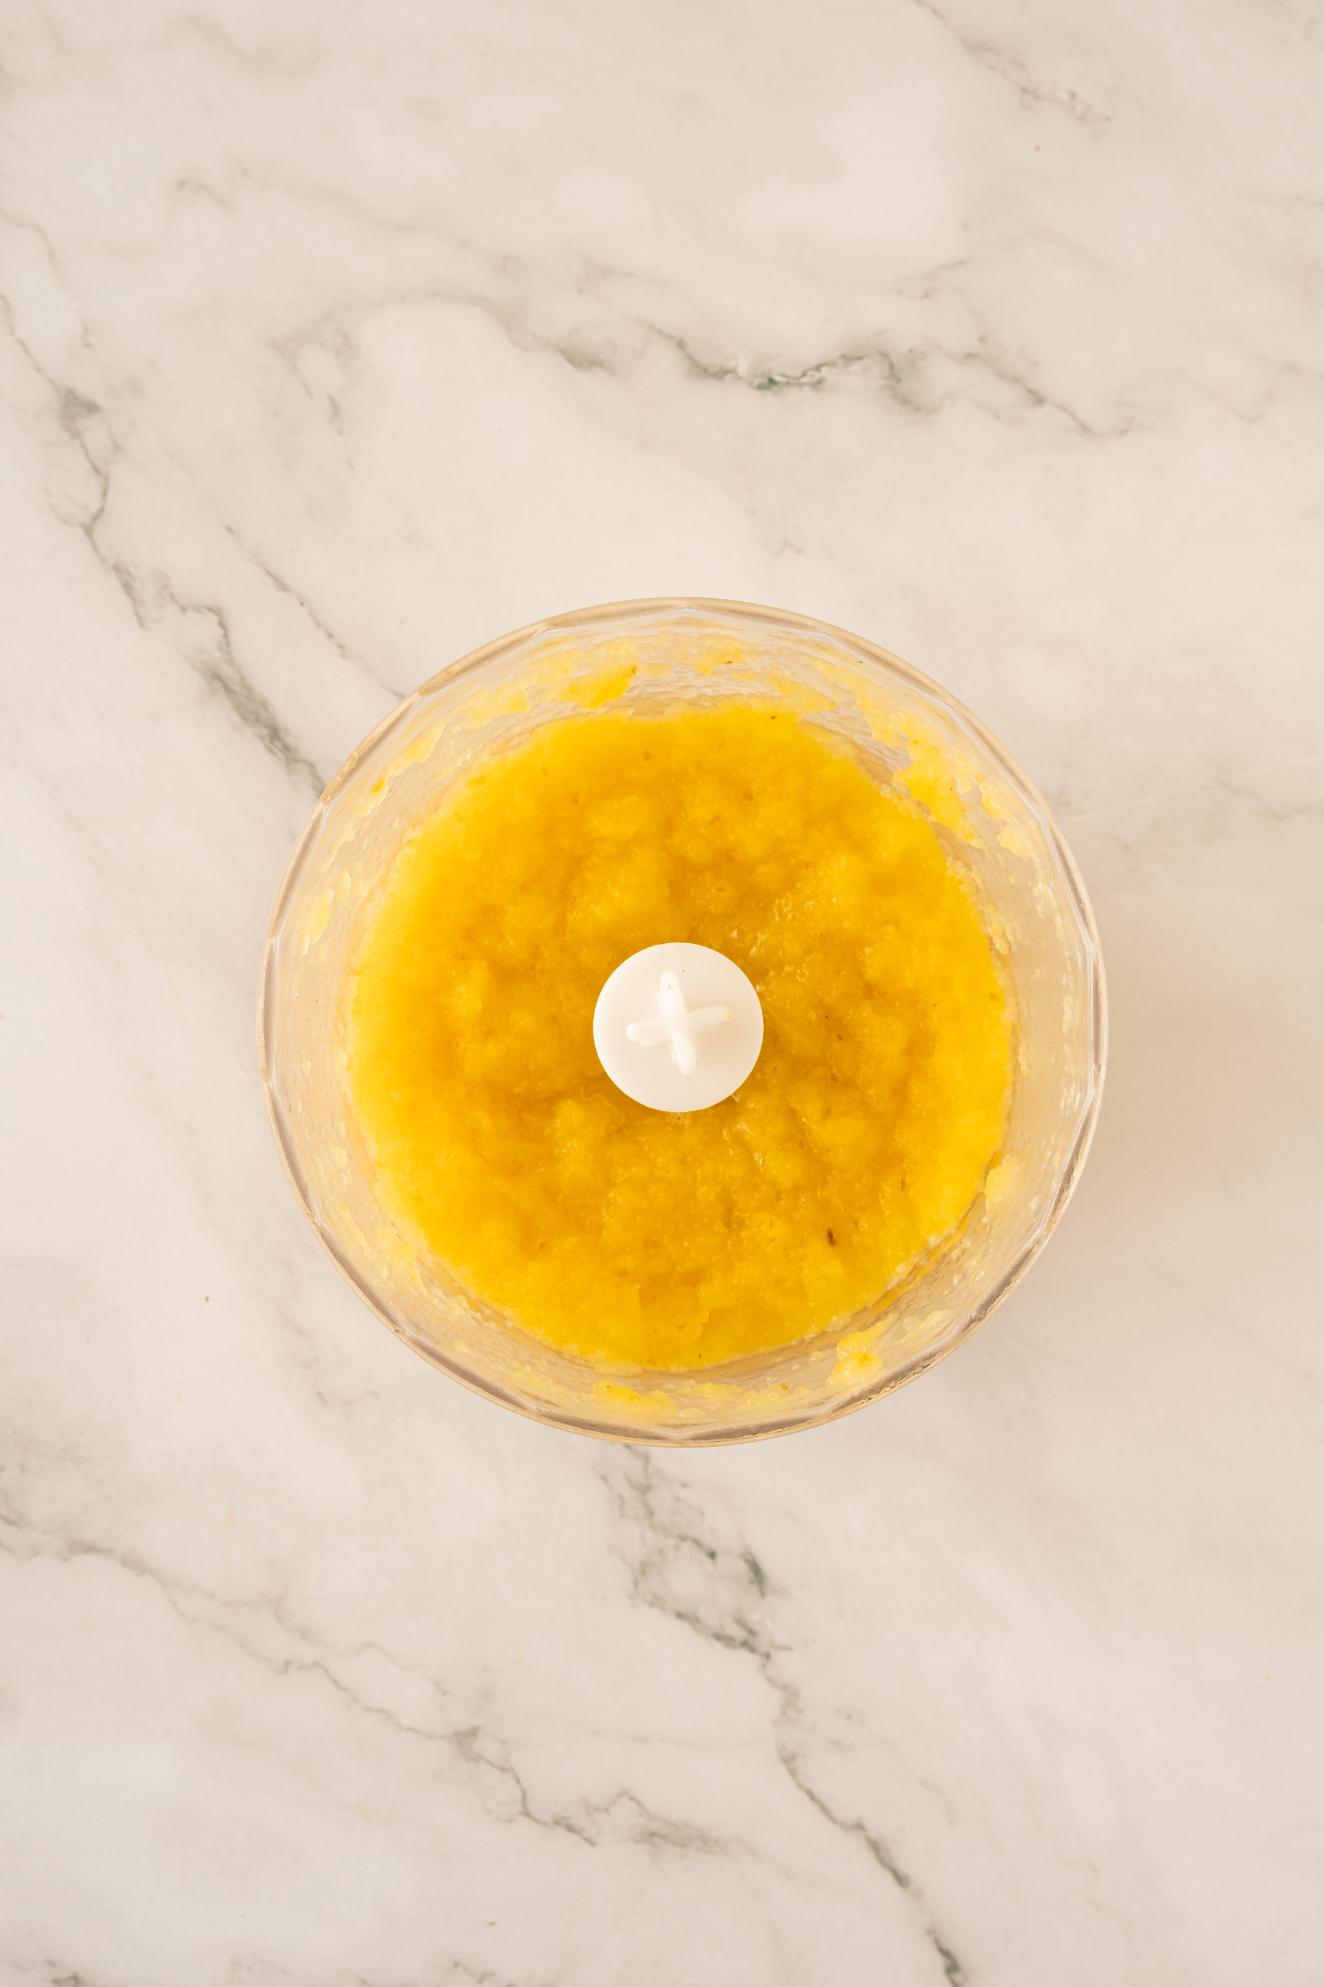
Tip: if the pineapple starts to stick or burn in the pan, add in a couple of tablespoons of water to loosen everything up.
Make the gelatine according to the package instructions. This can differ between brands, so be sure to read yours correctly.
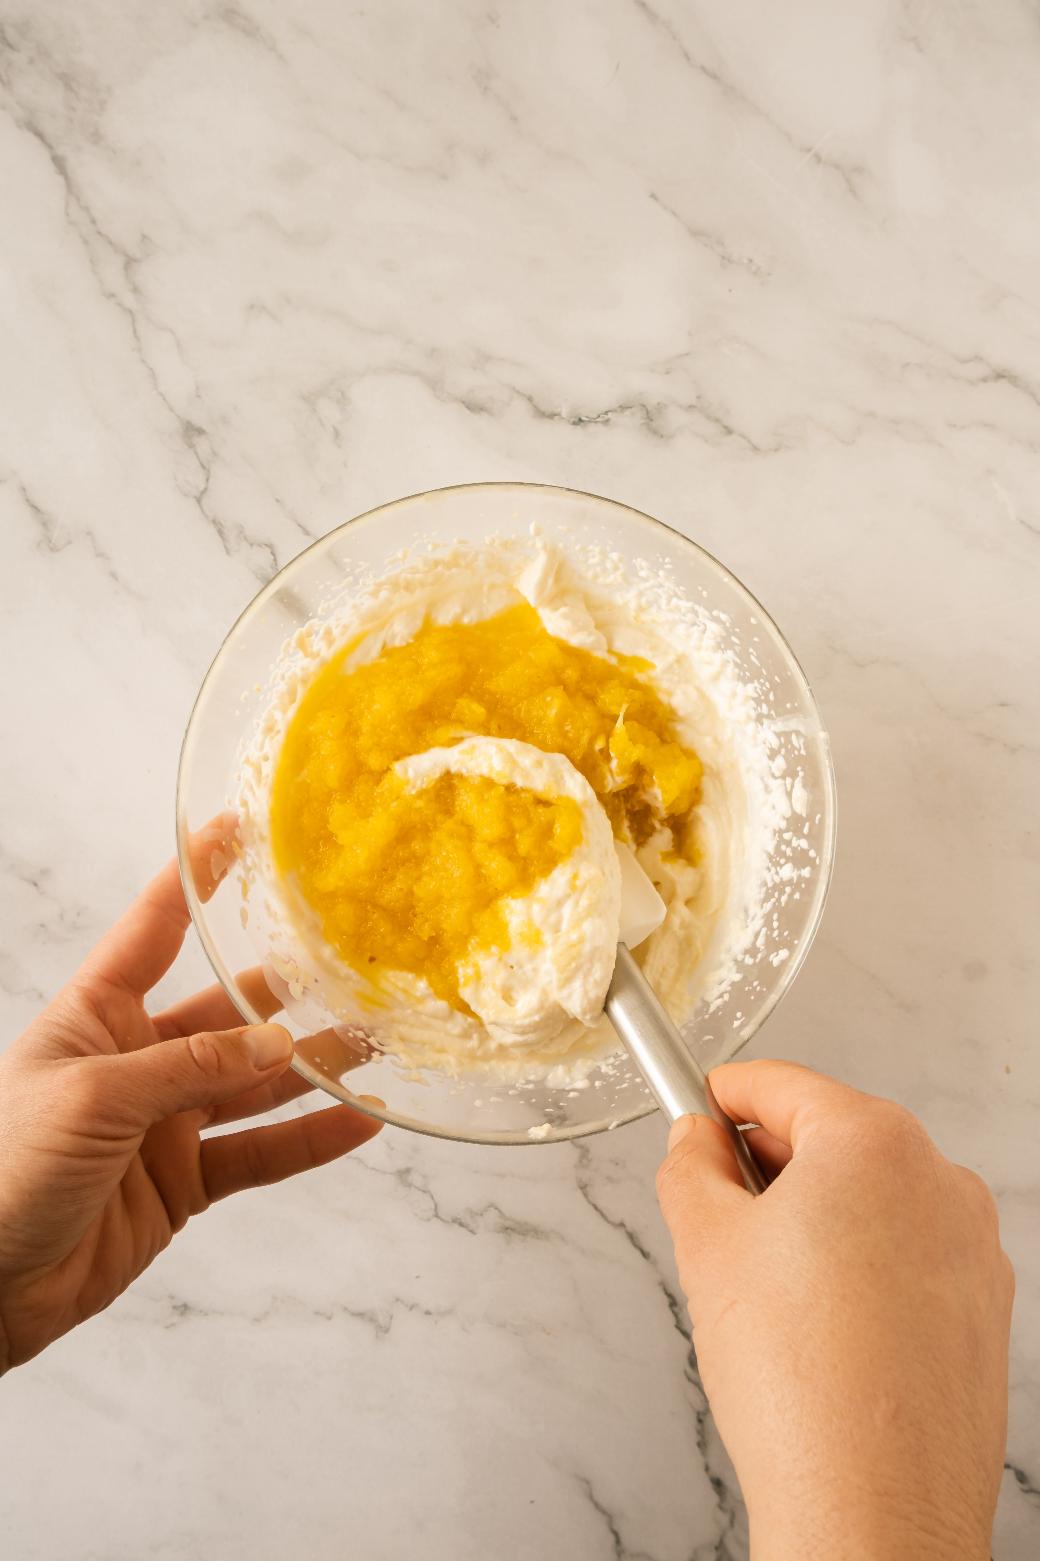
Once the gelatin has cooled to room temperature, add in half of the pineapple mixture, and set aside to cool.
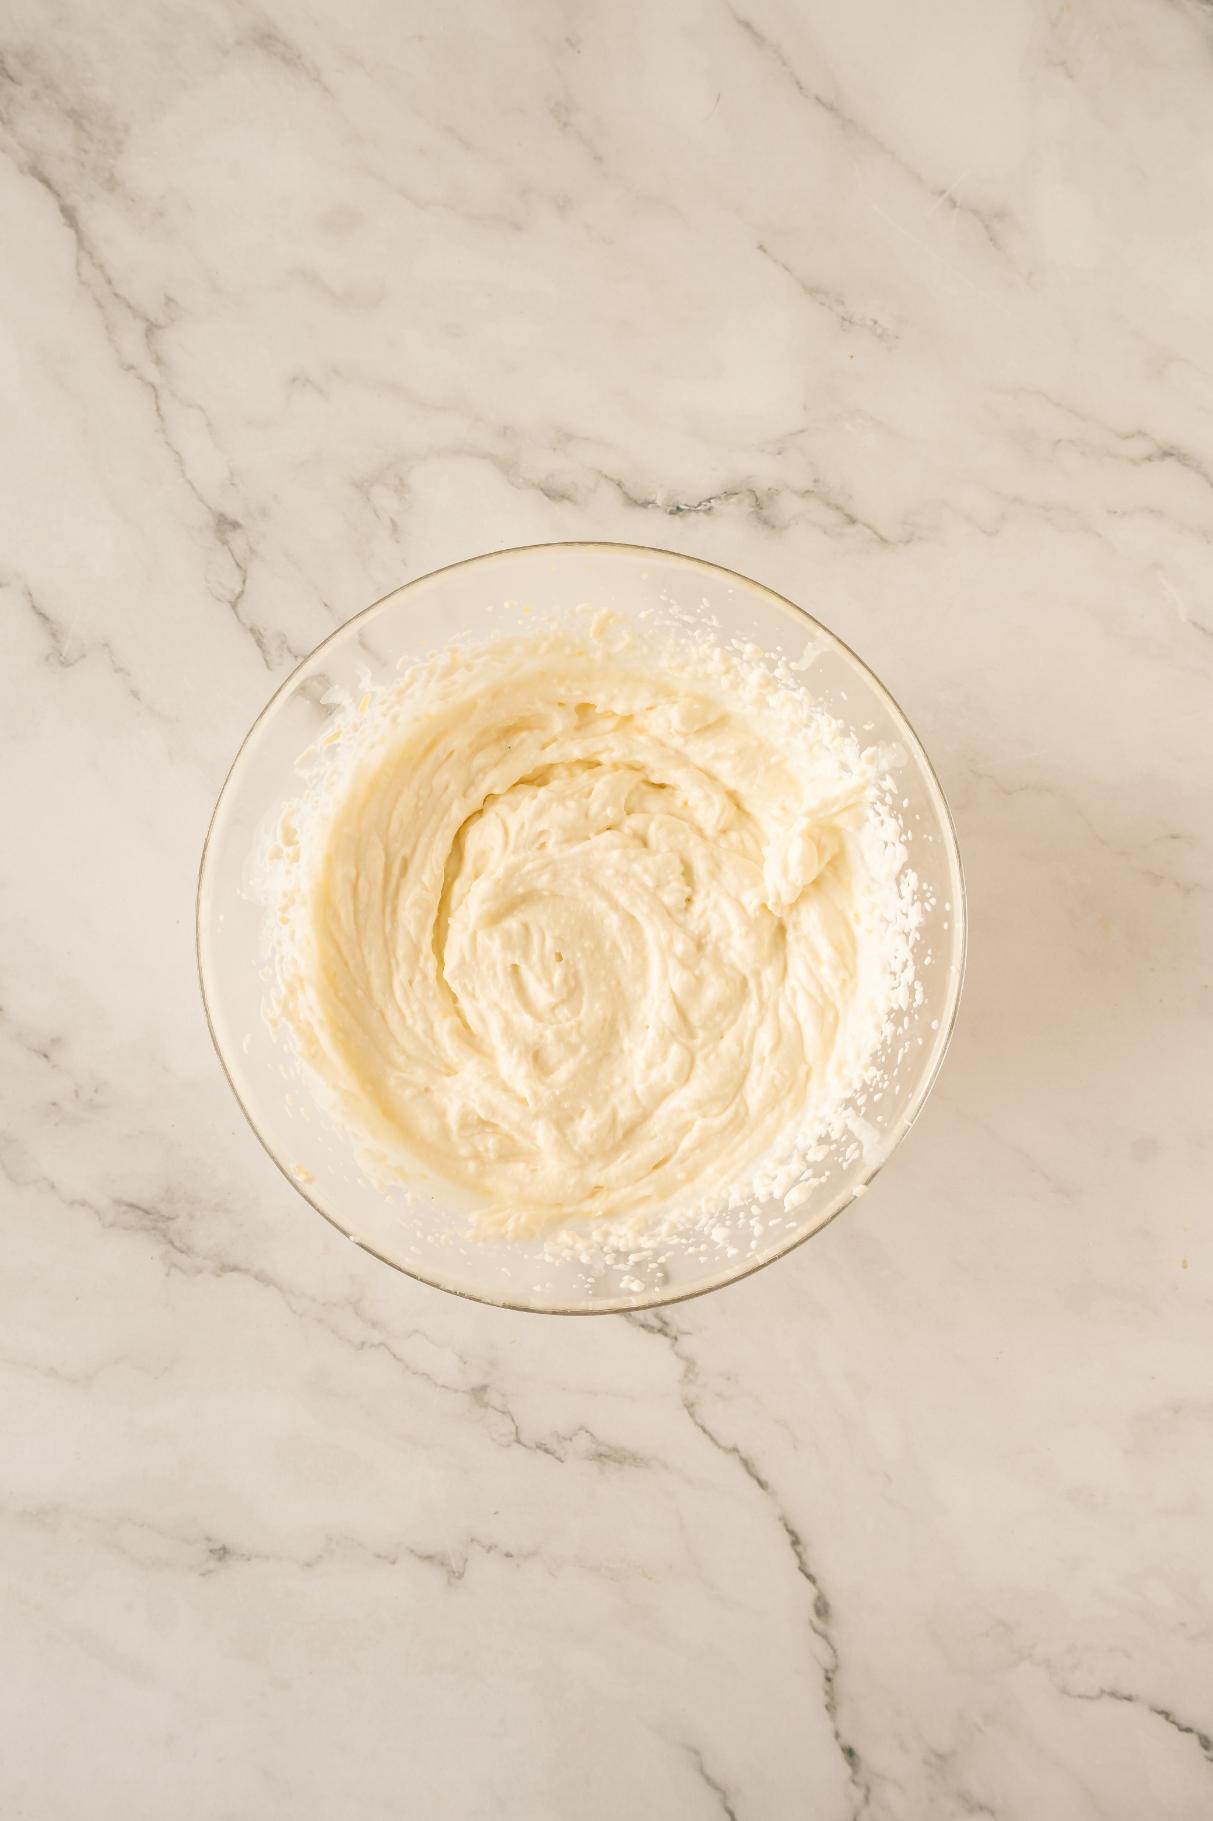
Use an electric hand mixer, or a stand mixer to whisk up the cheese cream mixture.
Add the cream cheese, heavy cream, coconut yogurt, powdered sugar, and lemon zest to a large bowl, and beat on medium-high speed until it is smooth and stiff peaks form. This is going to be the base of your creamy filling.
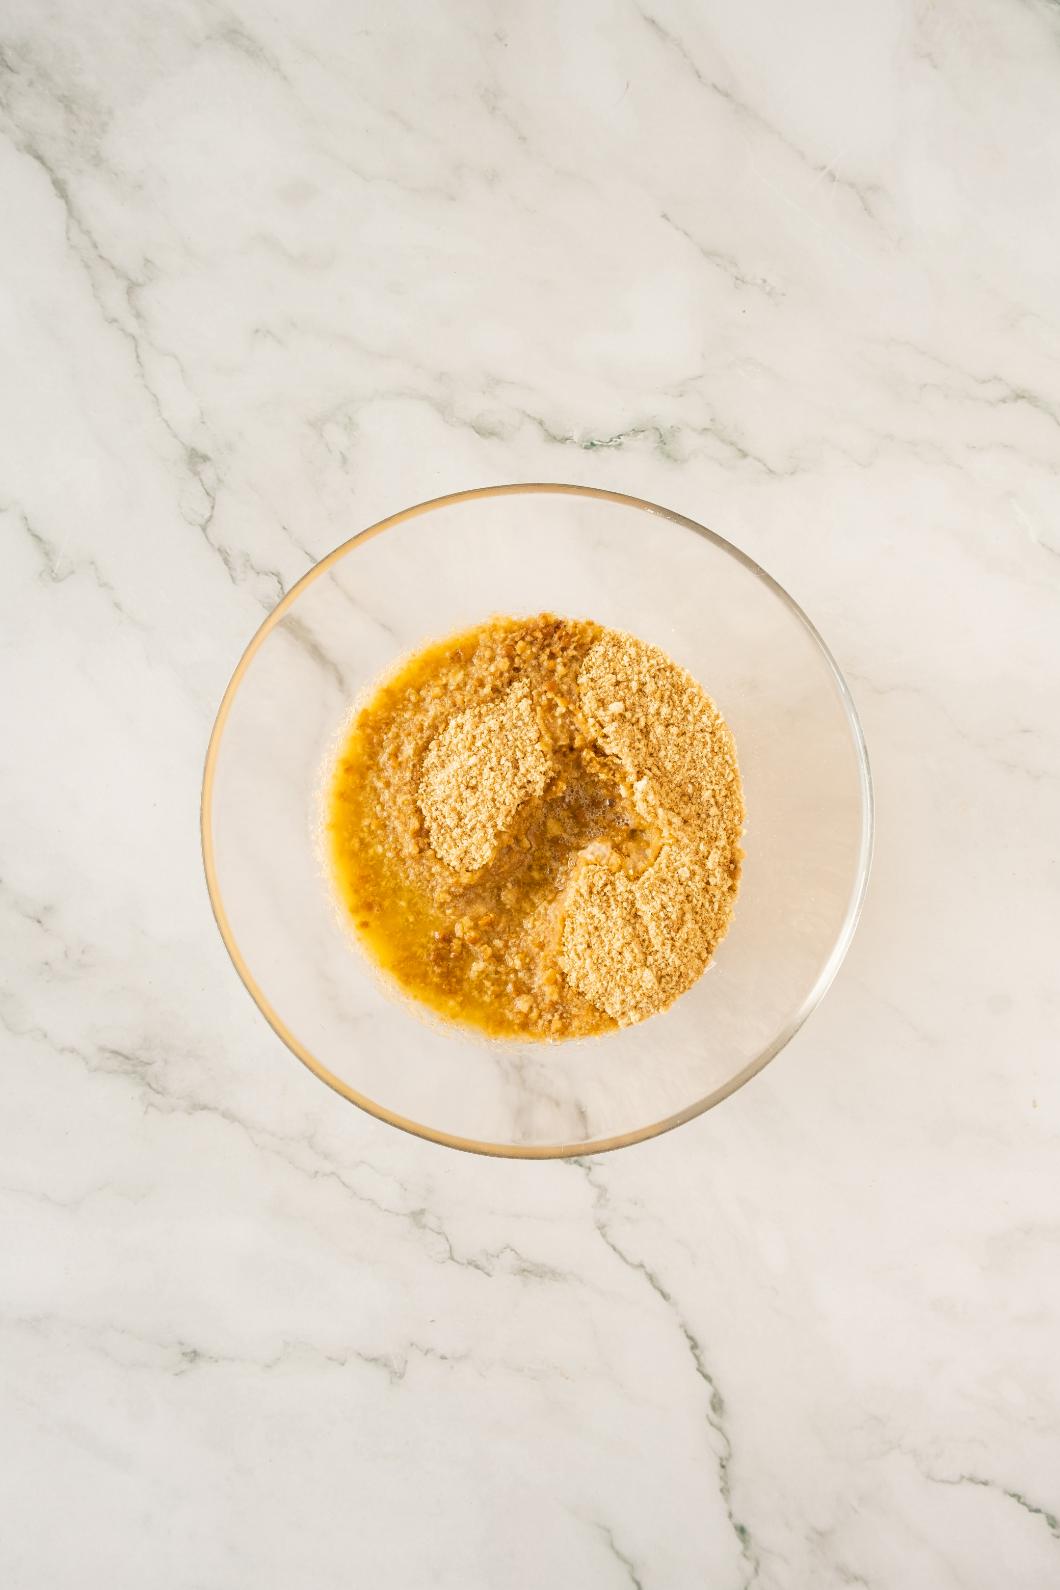
Using a food processor, pulverize those biscuits, crackers, cookies, or whatever you want to call them, add in the melted butter, and whiz everything together. It should resemble wet sand.
Voila, you now have the cheesecake crust.
Now the fun part - time to layer!
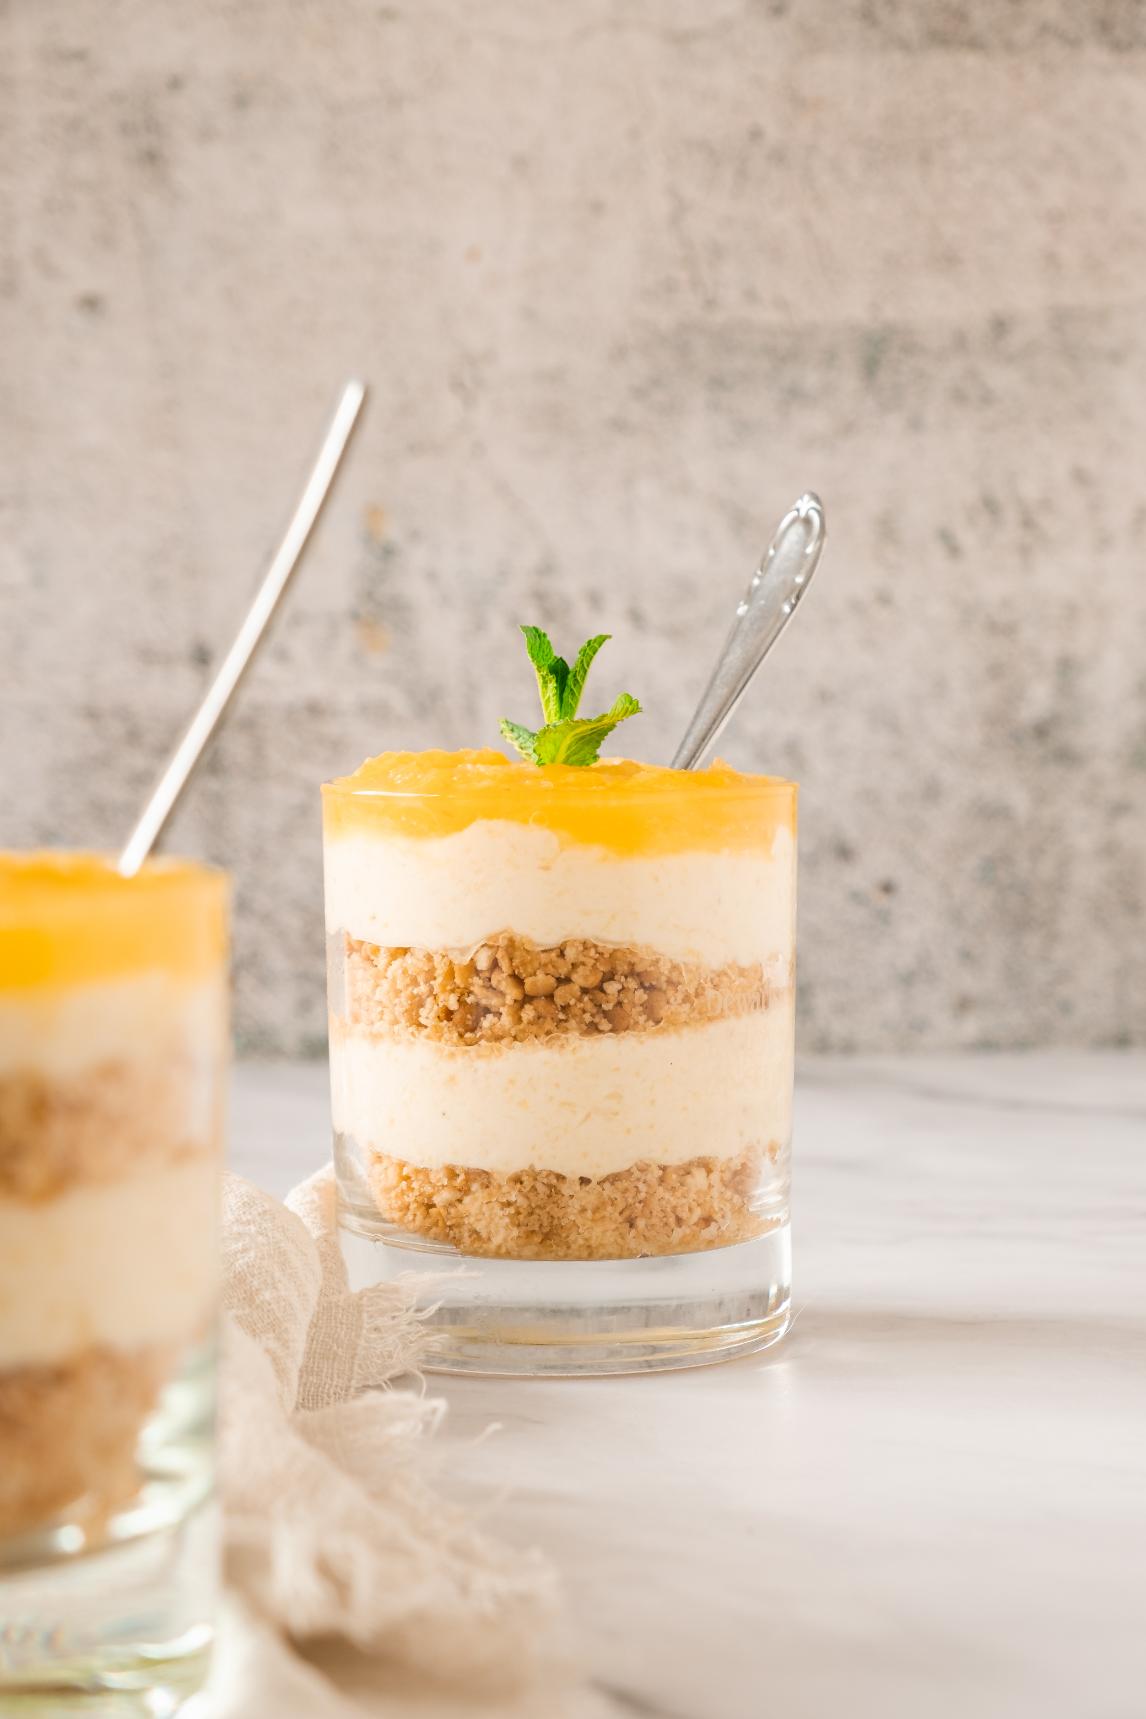
Line the bottom of the jars with your buttery biscuit mix, top with the cream cheese mix, followed by the pineapple.
Top with a sprig of minute and dessert is calling your name.
Too easy.
Tips, Tricks and Substitutions
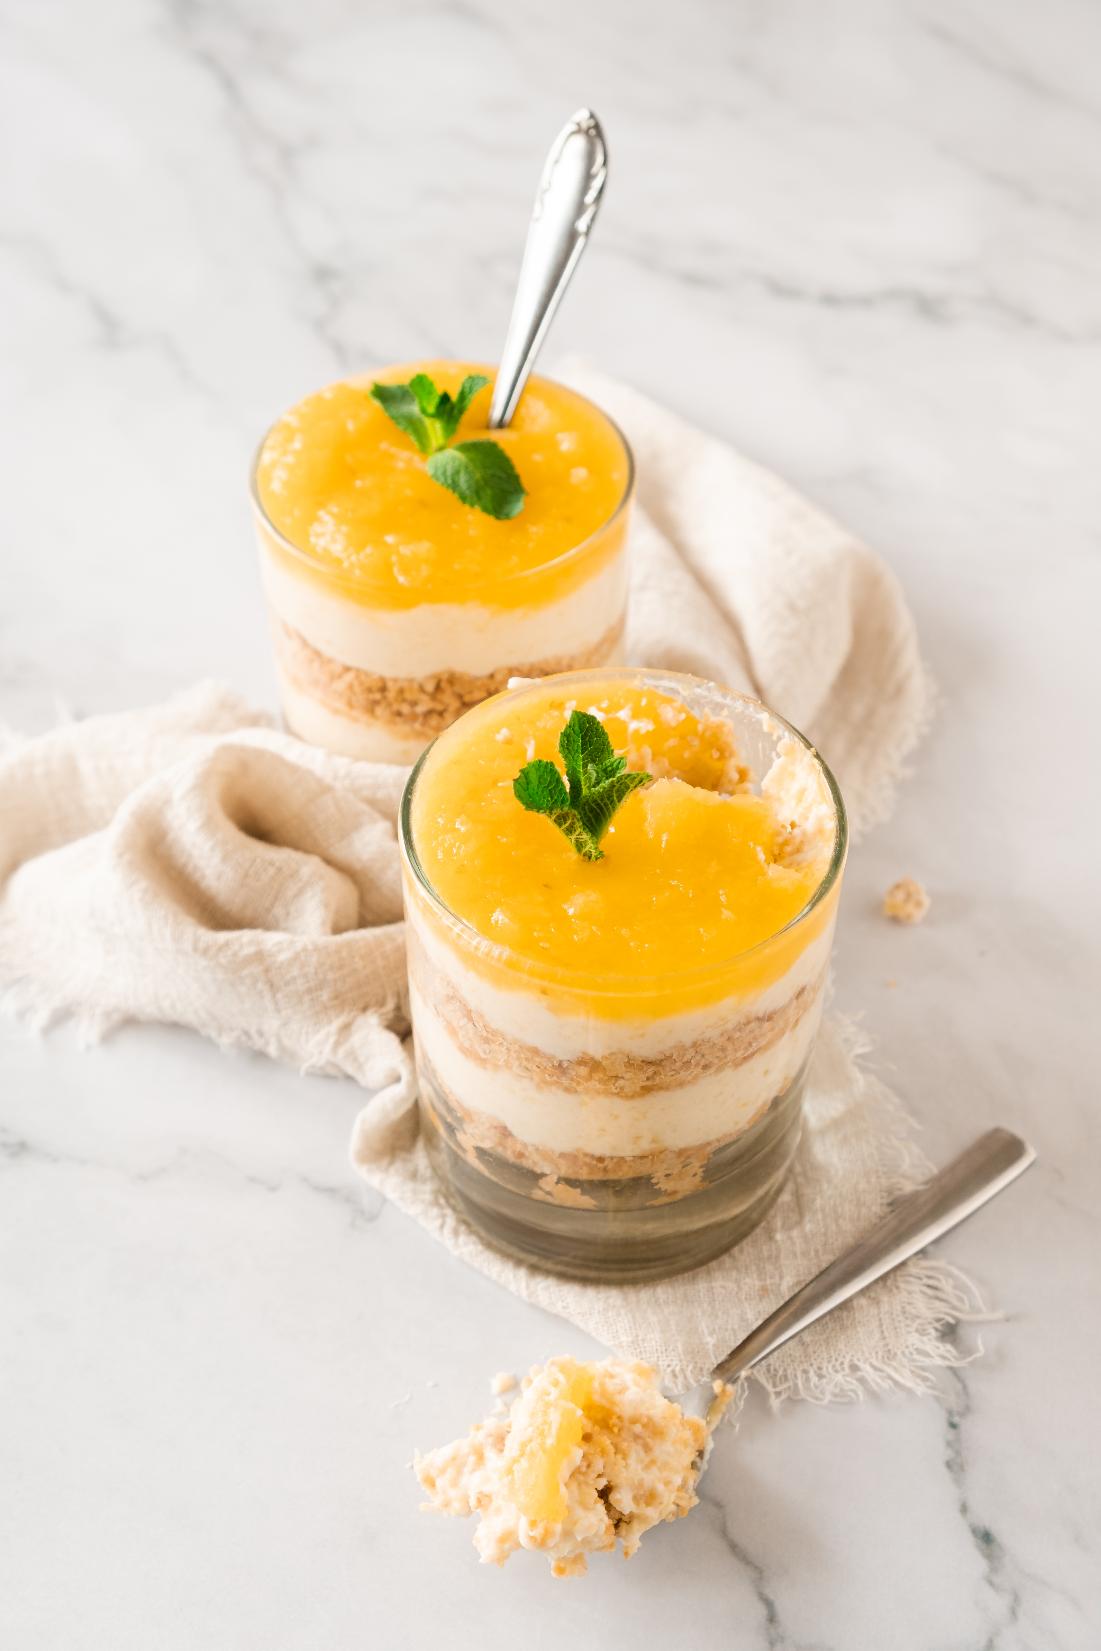
Use pretty glasses, or cute little jars to make these fun individual desserts.
Note: if you use smaller jars then you will end up with more than 4 mini desserts.
Can be stored in the fridge for up to 3 days.
No-bake cheesecake jars can also be frozen, however, please note that freezing, and then thawing may alter the texture of the cheesecake, and can lead to the biscuit crumb becoming a little soggy.
Why not experiment with other fresh fruit that is in season if it's not pineapple season where you are?
If you REALLY want to change up the flavor try swapping the biscuits out for some oreo cookies to make your crumb mixture. You will just have to add some chocolate chips as a topping to make the perfect pairing.
Apples, fresh berries, or chopped stone fruit would all work well.
If you are looking for another cheesecake-style recipe try these strawberry cheesecake muffins next.
Serving Suggestions
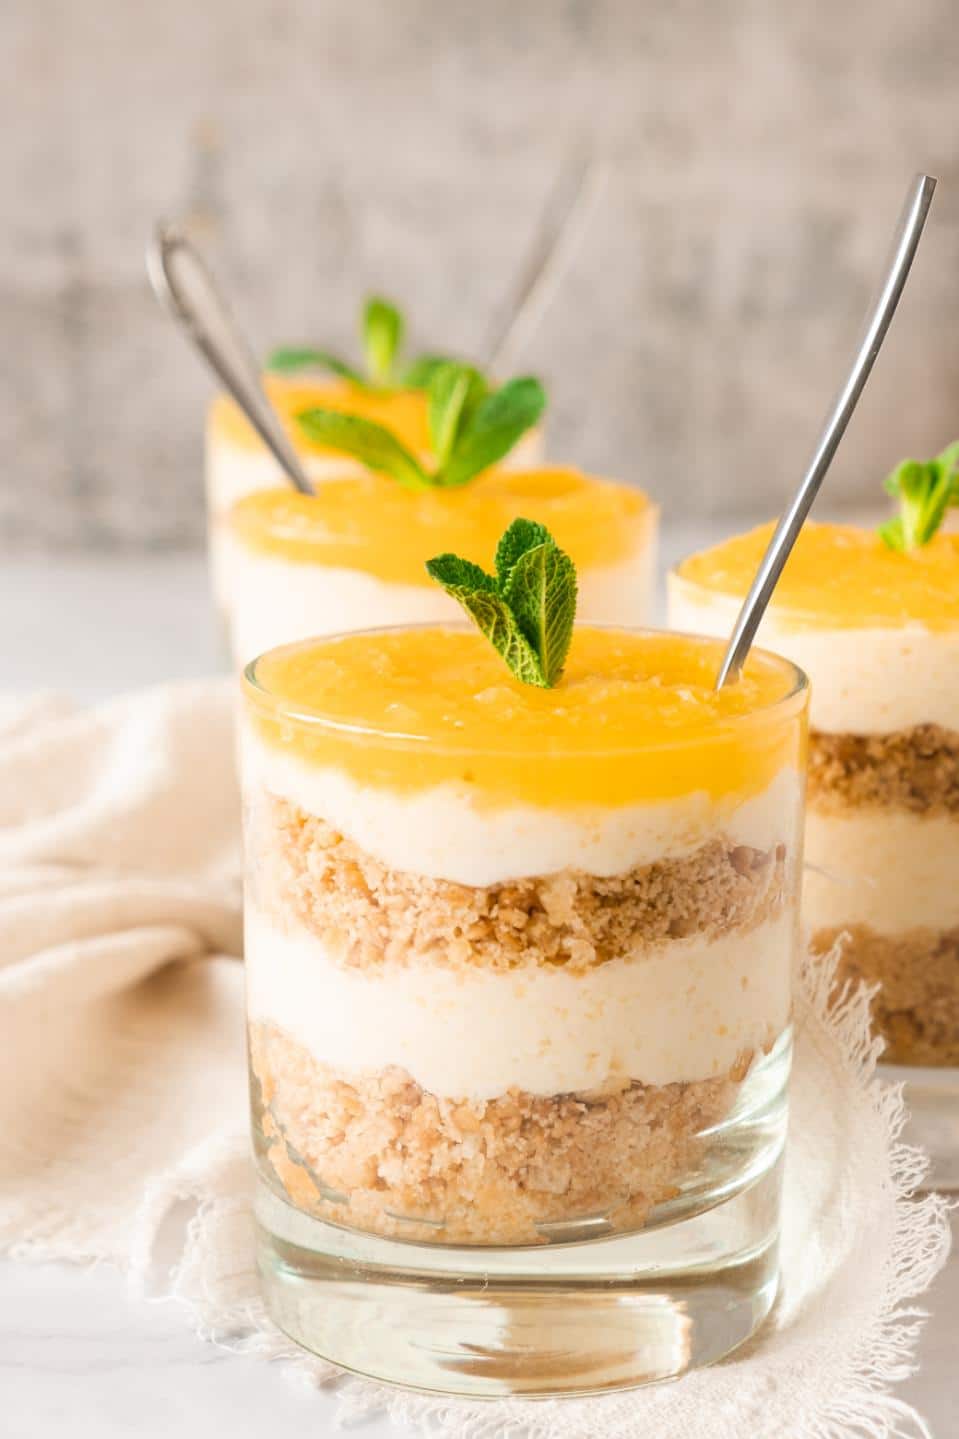
Once you have your no-bake mini cheesecakes layered and set in the fridge, simply top with some fresh mint and you are on your way to dessert heaven.
You can also add some fresh pineapple, crushed nuts, whipped cream, or toasted coconut flakes if you feel like a little bit more crunch and texture.
Choose your favorite toppings and different flavors, and make it your own.
These would make a great summer cookout dessert, a party favor at baby showers, or a simple weeknight treat.
I hope you love this easy dessert as much as we do, it is such a treat!
Happy Eating.
xx
Recipe
Individual Pineapple No Bake Cheesecake In A Jar
Clicking any equipment link above will earn me a small commission at no extra cost to you.
Ingredients
Pineapple Puree
- 1 pineapple
- ¼ cup granulated sugar
- 3 leaves fresh mint
- 2 teaspoons gelatin
- ½ cup water
Cheese Cream
- 11/2 cup cream cheese
- 1 cup heavy cream
- 2 tablespoons coconut yogurt
- ½ cup powdered sugar
- 1 tablespoon lemon zest
Cheesecake Crust
- 1 ¼ cups of your favorite biscuits
- 3 tablespoons unsalted butter
- Fresh mint for garnish
Instructions
Pineapple Puree
- Remove the outside of the pineapple and cut the flesh into cubes.
- Heat a pan and add the pineapple, sugar, and mint leaves. Close with a lid and cook until the pineapple is soft (about 10 minutes). If it starts to burn, add 2-3 tablespoons of water.
- Pour the finished pineapple into a blender and puree until smooth.
- Dissolve the gelatin in cold water. Leave to swell for 10 minutes. Then heat it on low heat. Do not let it boil. Set aside to cool.
- After the gelatin has cooled, add ¼ of the pineapple puree and mix well.
Cheese Cream
- In a bowl, mix the cream cheese, heavy cream, coconut yogurt, powdered sugar, and lemon zest until smooth and well combined.
- Add the rest of the pineapple puree and mix until well combined.
Crust
- Crush the biscuits in a blender.
- Melt the butter in a microwave or over low heat in a deep pan.
- Pour the butter over the biscuits and mix until the ingredients are combined.
Assemble
- To the bottom of 4 glasses or jars, add 2-3 tablespoons of the crushed biscuits mixture.
- Divide the cream cheese mixture between the four glasses, and then top with one more layer of crushed biscuits, followed by the pineapple puree.
- Leave in the refrigerator for about 3 hours or overnight.
- Add fresh mint when serving.
Notes
Nutrition
The information shown is an estimate provided by an online nutrition calculator. It should not be considered a substitute for a professional nutritionist’s advice.


JM says
I added a touch of rum to the pineapple puree for an extra flavor, and it was so good! I also used gluten-free graham crackers for the crust to accommodate my dietary restrictions and it worked perfectly. I love this recipe!
Donna says
Oh wow, adding rum would take it to the next level!
Kim says
This recipe for Pineapple No-Bake Cheesecake in a Jar was perfect for a refreshing dessert last week! I loved how easy it was to follow - no baking involved, and everything came together in under 30 minutes.
I didn't have fresh pineapple on hand, so I used canned pineapple chunks instead, and it still turned out delicious. The individual portions were perfect for portion control, and the creamy cheesecake layer with the tangy pineapple was a delightful combination. I also loved the tip about using crushed nuts for an extra bit of crunch. Thanks for sharing this recipe, I love it!