These homemade vegan graham crackers are so easy to whip up. A combination of whole wheat flour, coconut oil, coconut sugar, and some maple syrup for sweetness, these are a great healthier alternative to the store-bought original graham crackers. Super popular with kids, they are great for snacking, sprinkling on top of yogurt and smoothies, and for making homemade s'mores or spreading with some nut butter.
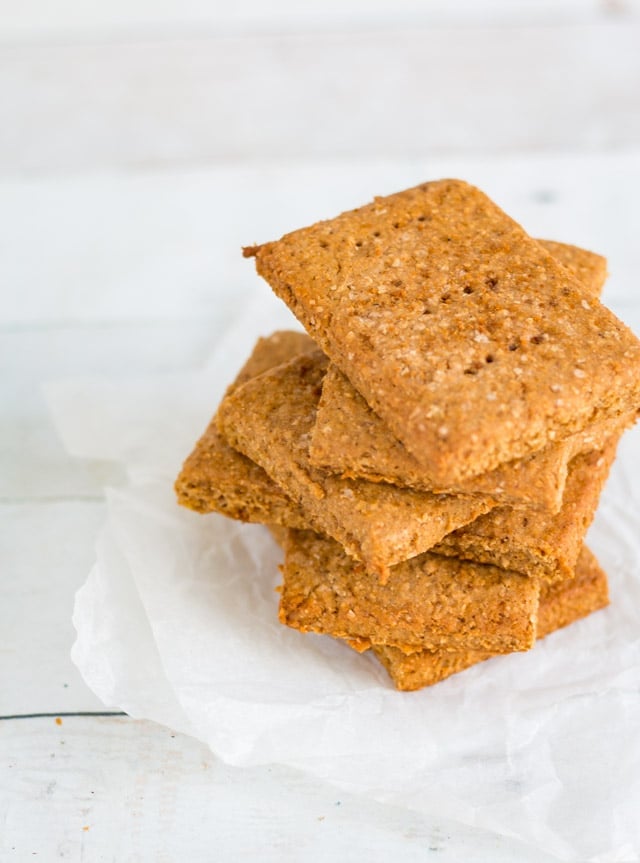
Vegan Graham Crackers
I have been working on these homemade graham crackers for what feels like F-O-R-E-V-E-R.
I finally nailed it, and just in time.
My kids have been begging to make some yogurt berry parfait for breakfast (they love having the freedom to add what they want), and the recipe calls for graham crackers to be crushed and sprinkled on top....which would be great except that Graham Crackers don't exist in Australia, and apparently no other cookie compares.
This homemade vegan graham cracker version saves the day.
Forget about the store-bought versions - these crunchy little delights are full of goodness and taste absolutely amazing.
These crackers are:
- refined sugar-free (sweetness comes from coconut sugar and maple syrup)
- egg-free
- dairy-free
- vegan
- vegetarian
How To Make Graham Crackers
I know that sometimes recreating popular store-bought items can be tricky.
Not the case here.
These homemade graham crackers come together so easily!
You will need:
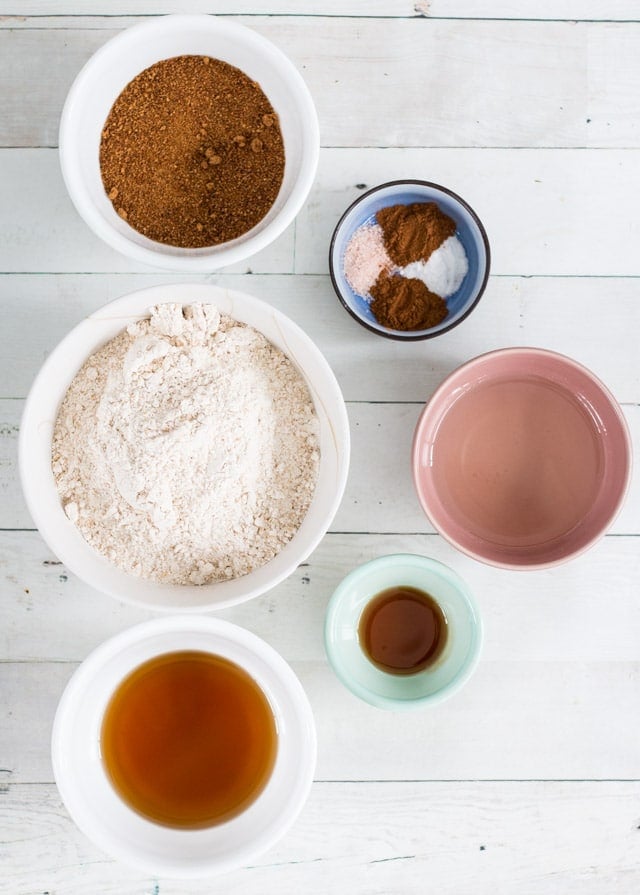
- regular whole wheat flour: using whole wheat flour not only gives you the color you want in these cookies, but it also gives a slight nuttiness and warmth to the cookie which is necessary. We use plain, all purpose flour here. Traditionally graham flour is used for these cookies, and can be used here if preferred, however it can be hard to source. I have also used oat flour to make gluten-free graham crackers, and that worked well;
- ground cinnamon;
- baking soda;
- salt;
- coconut sugar: coconut sugar can be found beside regular sugar or in the health food section of most well-stocked grocery stores. You can use another dark sugar or brown sugar alternative if preferred;
- pure vanilla extract: not to be confused with imitation vanilla or vanilla essence;
- maple syrup: look for pure maple syrup, not maple-flavored syrup. Alternatively, you can use another liquid sweetener of choice;
- coconut oil: this will need to be melted and cooled before being used in this recipe;
- oat milk: or any other plant-based milk like almond milk, or regular milk of choice.
Now I know reading that list of simple ingredients may have you thinking 'these sound very healthy, how can they taste good??'
Don't worry, they do.
Crispy, crunchy, sweet, and delicious.
What's not to love?
Tips For Making Perfect Crackers
Once you have all of your ingredients you are going to want to mix all the dry ingredients together in a large bowl, add in the wet ingredients and then bring it all together into a ball.
I do this by hand as I find it easier to work with this type of dough by hand, however you can use a food processor to bring the dough together if you prefer/
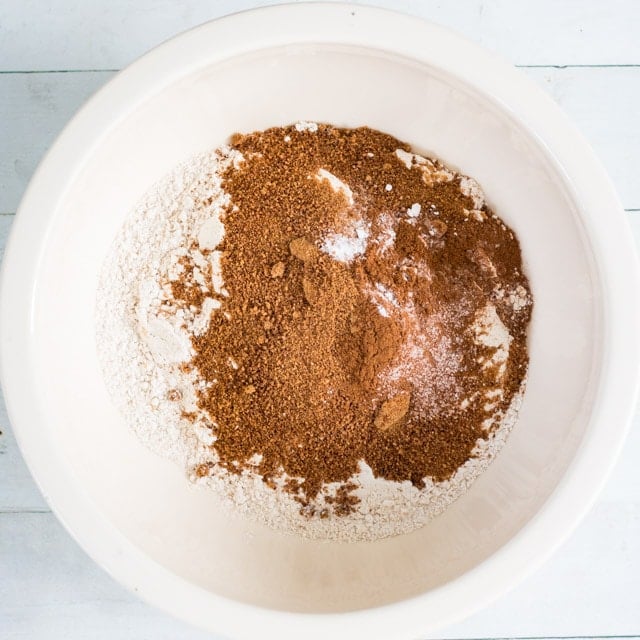
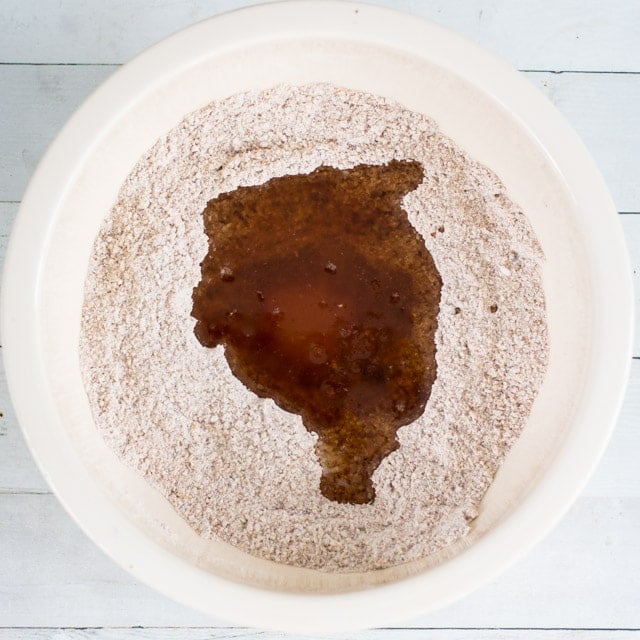
If the mixture is too wet, add a little bit more flour until it isn't sticky.
TIP: use two sheets of parchment paper or plastic wrap to roll out the dough, this prevents it from sticking to the rolling pin, and makes the whole process a lot easier.
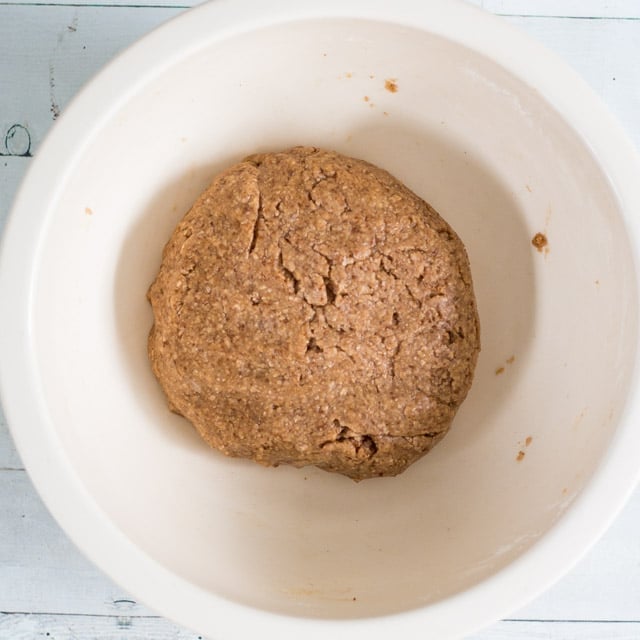
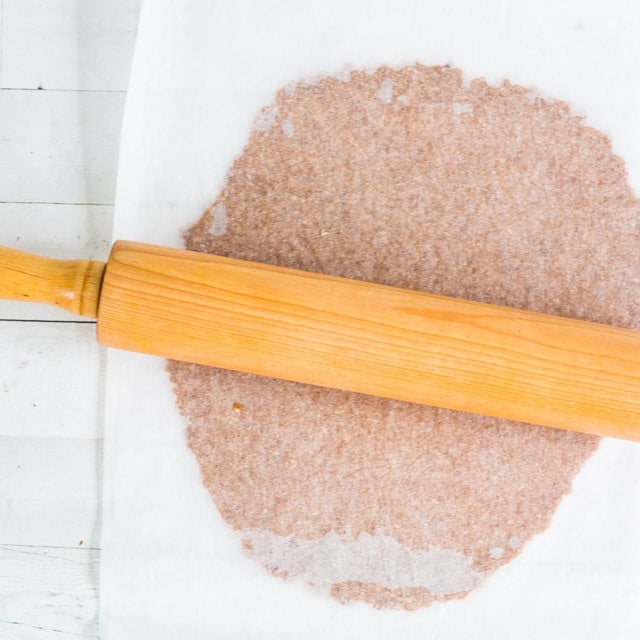
If you don't have parchment paper or don't want to use it, then let the dough rest for about 15 minutes before rolling. This dries it out a bit and makes it easier to work with.
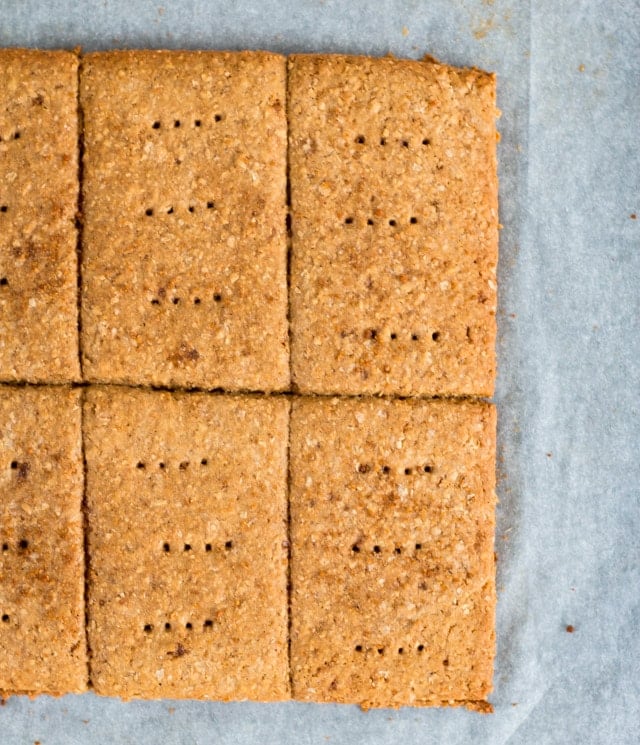
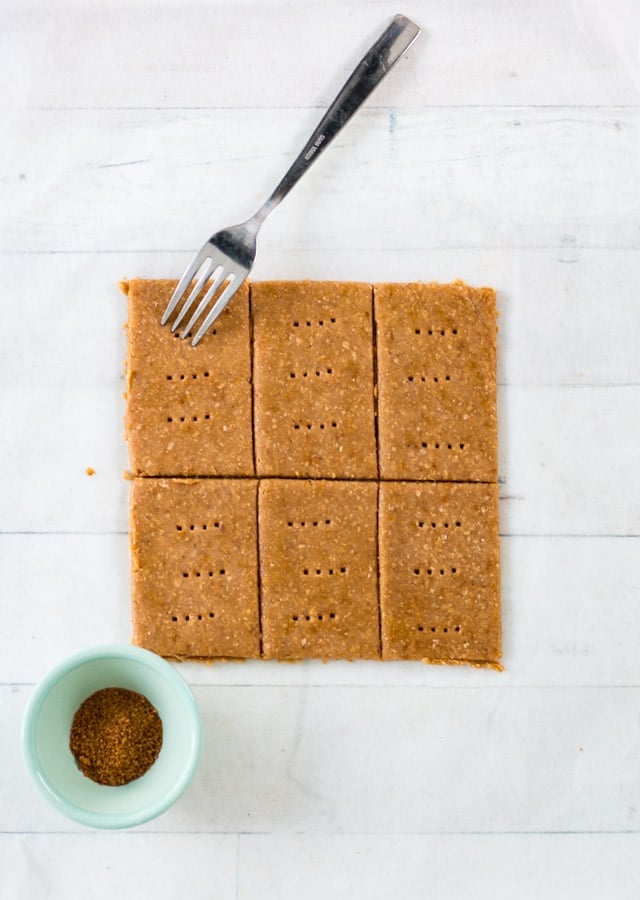
Once rolled you should cut the dough into rectangles with a sharp knife or a pizza cutter and then use a fork to poke holes on top of the dough. Making holes isn't imperative, however, helps to make the crackers look the part.
Alternatively, you can use cookie cutters to cut the dough into little shapes before popping them onto a baking sheet and baking until golden and crispy.
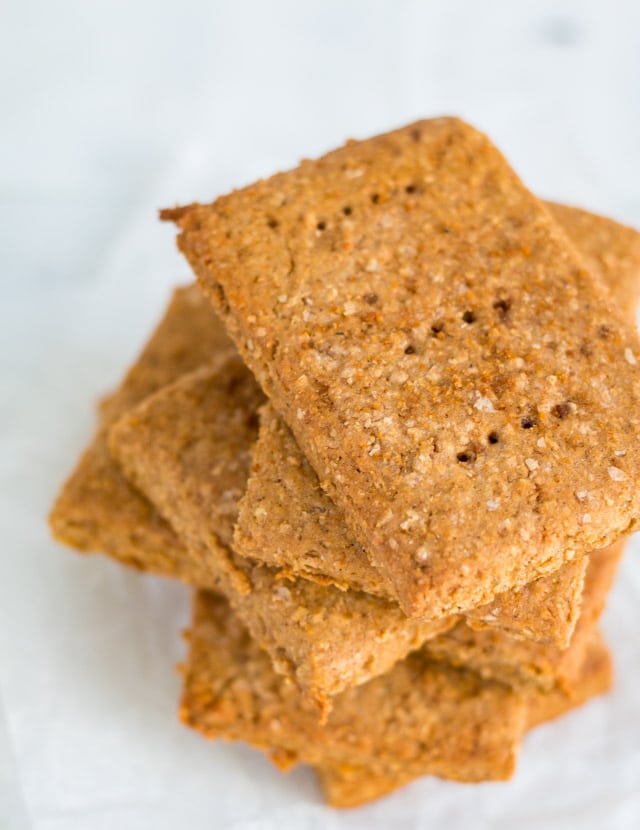
TIP: the thinner you roll the dough, the faster it will cook, and the crispier it will become. Aim for a thickness similar to the store-bought version. Any thicker and they won't crisp up.
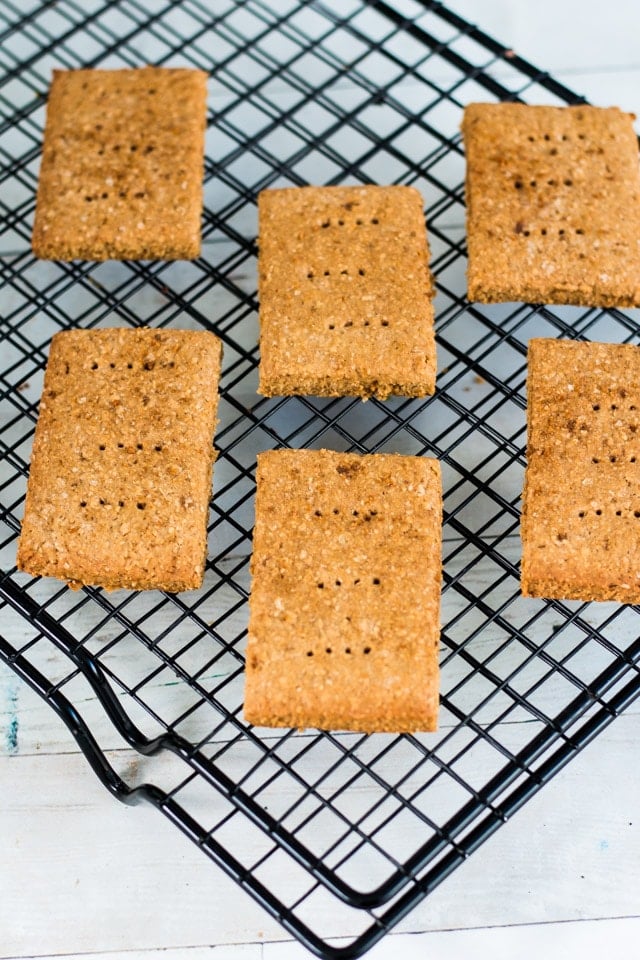
Remove from the oven and allow to cool on the baking sheet for about 5 minutes before transferring to a wire rack to cool completely to room temperature.
As they cool, the cookies will become more crispy so this step is very important.
How To Store Properly So They Stay Nice and Crispy
Once the cookies have cooled completely they should be stored in an airtight container to keep them crispy.
They should last a couple of days.
Serving Suggestions
Graham crackers are for more than just eating as you would a cookie.
They are also great for:
- using as graham crackers crumbs on yogurt or ice cream
- crumbling on top of a smoothie for a nice bit of crunch
- using to make your own graham cracker pie crusts
- making ice cream sandwiches
- making homemade s'mores
- sandwiching with some peanut butter, other nut butter, or strawberry coconut butter
- for fun, you can cut them into little shapes before cooking and then serve them as a special breakfast treat with cold milk
- adding to a vanilla milkshake
Use your imagination!
If you give these cinnamon graham crackers a go, be sure to whip up a yogurt berry parfait for breakfast, and sprinkle some crackers on top. So good.
I hope you loved this easy recipe for making your very own vegan graham crackers. Leave a 5 star recipe rating in the recipe card below or a comment underneath the recipe card.
Recipe
Cinnamon Whole Wheat Graham Crackers
Clicking any equipment link above will earn me a small commission at no extra cost to you.
Ingredients
- 2 cup plus 3 tablespoon whole wheat flour
- 1 teaspoon cinnamon
- ½ teaspoon baking soda
- ½ teaspoon salt
- ½ cup coconut sugar
- 2 teaspoon pure vanilla extract
- ¼ cup maple syrup
- ½ cup unrefined coconut oil
- ¼ cup oat milk or other nut milk of choice
Instructions
- Preheat oven to 350F (175C)
- In a large bowl combine the dry ingredients. Make a well in the middle and pop in the wet ingredients. Mix together to form a ball
- Pop the dough ball onto a piece of parchment paper, pop another piece of parchment paper on top and roll the dough out to a thin thickness (similar to a store-bought graham cracker thickness)
- Cut into rectangles, poke a few holes with a fork, sprinkle with some coconut sugar if desired, and place on a cookie sheet
- Bake for 13-15 mins, the longer you leave them the crunchier they will get. Once baked, remove from the oven and allow to cool completely on a cooling rack
- Once compleltely cooled, store in an airtight container
Video
Nutrition
The information shown is an estimate provided by an online nutrition calculator. It should not be considered a substitute for a professional nutritionist’s advice.


Estie says
These taste really good, however as I was making them the dough just seemed really wet. I added A LOT of flour but it was still so oily… anyways, I’m not sure what was going on there but it think it contributed to the weird texture of the crackers after they were baked. In general I am really happy with these!
Alexandra Robertson says
Yumm. How long do these stay fresh?
Donna1 says
In an airtight container they should be good for a week or two (although they have never lasted that long in our house 🙂 )
Anjali @ Vegetarian Gastronomy says
These sound delicious, healthy, and so much better than the store-bought version! Not to mention love how easy they seem. I'm going to have to try this for the kids soon!
Donna1 says
They are definitely better than store bought 🙂 We have whipped up so many batches, and my kids are big fans (and so am I 🙂 )!
Uma Srinivas says
Home made crackers are best! Love to make these some days!
Mel @ avirtualvegan.com says
I had never heard of graham crackers until we moved to Canada and haven't actually tried one yet as they are usually not vegan. Yours look lovely though. I love the addition of the cinnamon in there and the lovely colour. Delicious!
Donna1 says
Yeah they must definitely be a US/Candaian thing. I was totally addicted, but I actually prefer this vegan version to the originals (if I do say so myself) 🙂
Ginny McMeans says
I am so excited about this! Really looking forward to making these. PInned!
Donna1 says
Oh yay, I hope you enjoy them as much as we do 🙂
Rebecca @ Strength and Sunshine says
I need to make my own "graham" crackers one day! I always loved them!
Donna1 says
They are super easy 🙂
Laura says
Homemade crackers are SOOOO much better than store bought! I have made graham crackers before and they are such a treat!
Donna1 says
They are definitely better hey! Always seems like such a hassle to make them, but the pay-off is so worth it 🙂