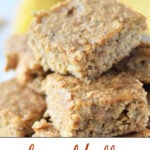
This Banana Bars recipe is a must-add to your collection if you love a snack that can keep you fuller for longer. Avoid the added sugar in store-bought bars, and enjoy this homemade version instead which is chock full of whole grains, chia seeds, oats, and almonds. They are the perfect treat for filling up hungry bellies fast. This is the perfect energy bar to have on hand post-workout or packed into your lunchbox for an afternoon pick-me-up.
freezer-friendly. make-ahead. kid friendly.
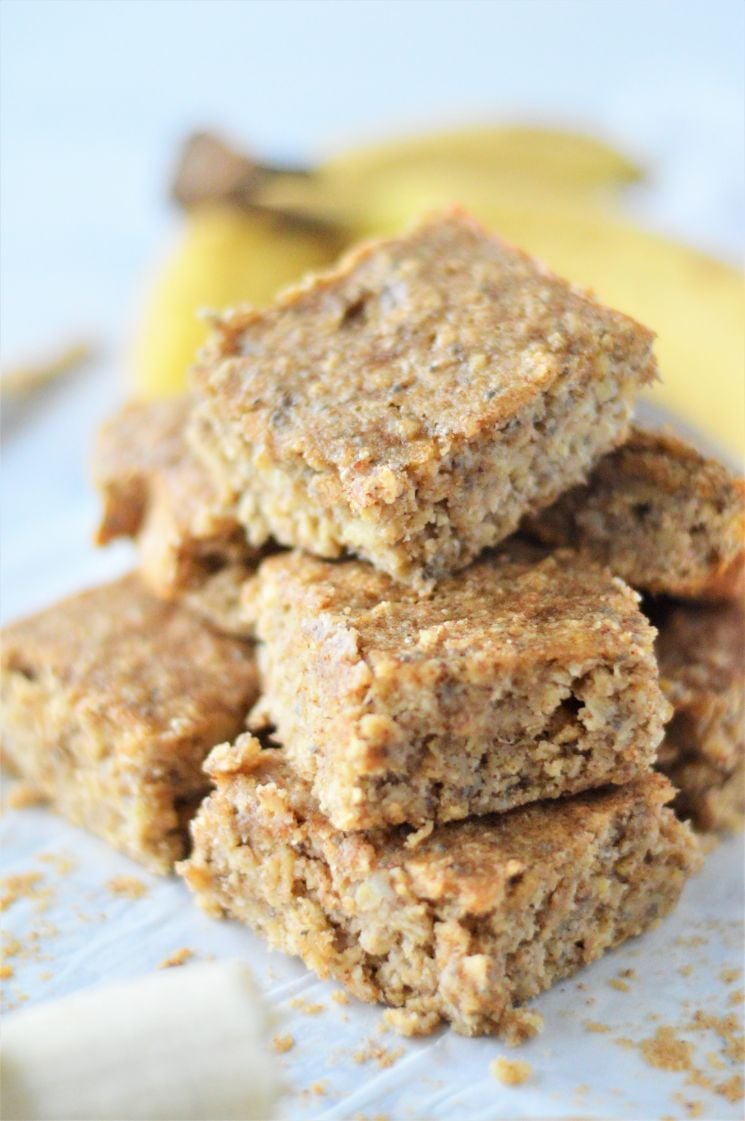
We love simple and delicious snacks that are portable, fill bellies up fast, and use up leftover bananas (there's something about those brown bananas languishing in the fruit bowl that brings out all the guilts). Why not try these Puffed Brown Rice and Banana Energy Balls next?
Almond Butter Banana Bars Recipe
Jump to:
We love having this little energy bars recipe on hand for a healthy and filling snack that is also portable and travels well.
The kids call them warrior bars based on some bars we picked up from a random store whilst on a road trip, and the name has kind of stuck.
The fact that this homemade version uses only simple wholesome ingredients is a huge bonus!
You are going to need:
- bananas: overripe bananas are sweeter than ripe bananas. This can make a massive difference to the sweetness of the banana bread bars, so choose your bananas accordingly. I tend to opt for ripe bananas with a couple of brown spots so they are not overly sweet;
- egg: we used an average-sized egg for this recipe;
- pure maple syrup: look for 100% pure maple syrup and not maple-flavored syrup as that has a lot of added extras and will make these bars extra sweet;
- pure vanilla extract;
- almond butter: this can be found alongside all of the other nut butters in the store ( or why not try making your own almond butter!). Check the ingredients for added sugars if this is something you are trying to avoid. We use 100% almond butter with no added extras for this banana bread bar recipe;
- almond flour: this is becoming more and more popular which means it is usually quite easy to find at the grocery store. If you can not find it you can simply blitz almonds in a high-speed blender until they resemble fine flour;
- chia seeds: these can be found in the health food aisle of most well-stocked grocery stores;
- rolled oats: look for gluten-free if you prefer to keep this recipe gluten-free. You could also replace the rolled oats with quinoa flakes instead if preferred;
- baking soda;
- ground cinnamon.
Some optional extras to make these bars your own include adding some dark chocolate chips, a handful of seeds like hemp seeds, pumpkin seeds, or flax seeds sprinkled on top, a spoonful of coconut oil to add some healthy fats, a scoop of your favorite protein powder for extra protein, or perhaps a scoop of powdered peanut butter.
Make it your own!
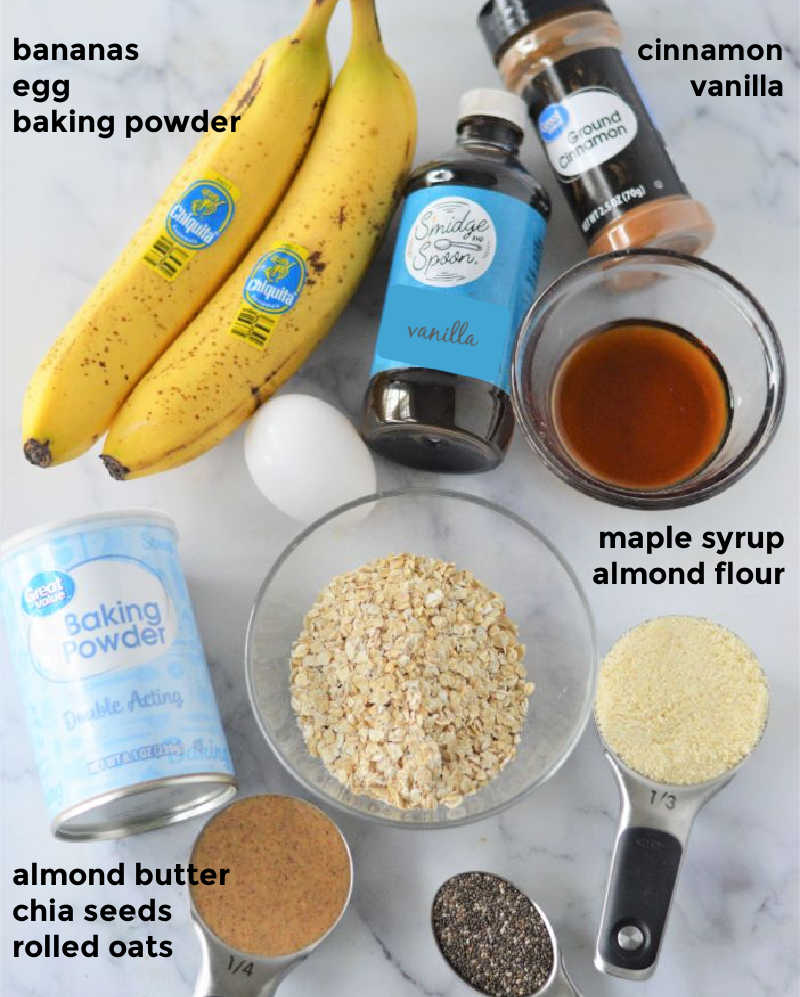
How To Assemble Warrior Bars
Start by getting the oven preheated and finding a suitable container for baking the banana bars.
I prefer to use a 9"x13" silicone baking pan (otherwise known as a jelly roll pan) as it makes removing the cooked bars super easy without needing to line it with baking paper.
If you do not have a silicone pan, then simply use a regular baking pan and line it with parchment paper or line it with coconut oil or nonstick cooking spray for easy removal.
If your almond butter is on the solid side you may want to pop it into the microwave, or warm it on the stovetop for a bit until it has a more runny consistency which will make it easier to work with.
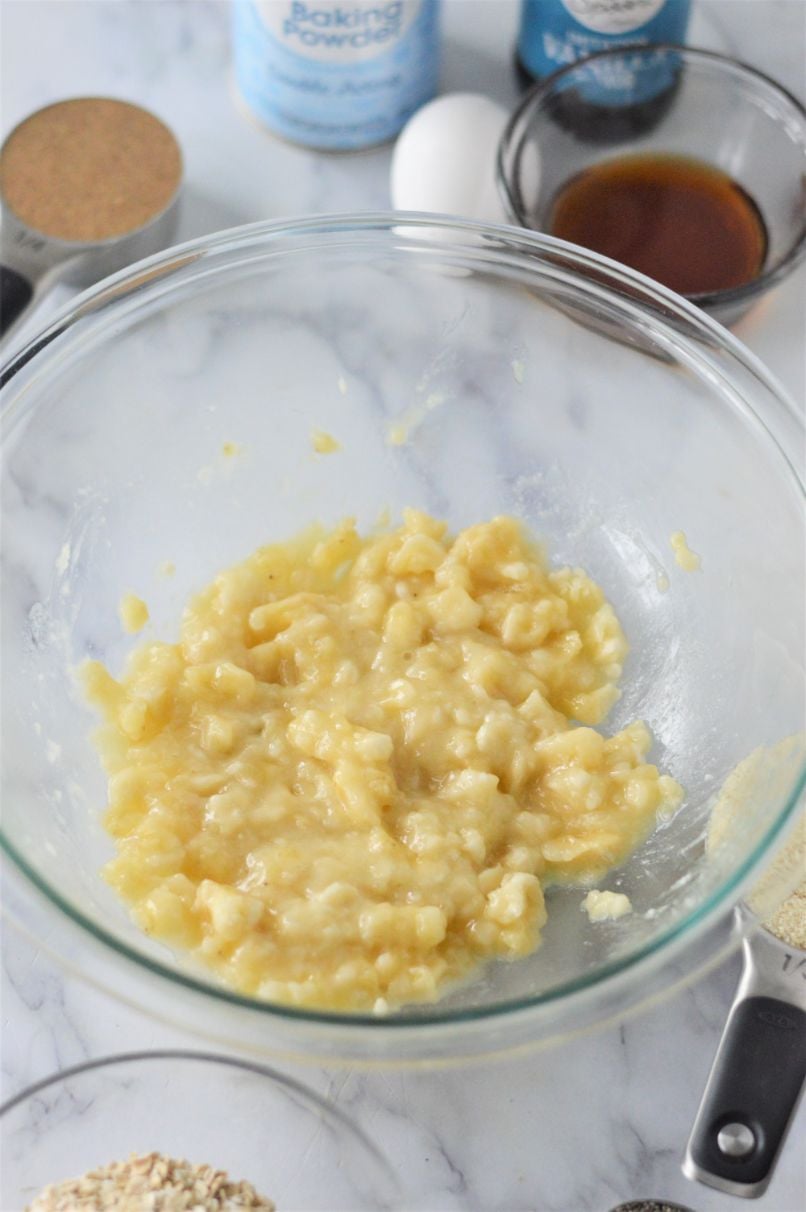
In a medium bowl mash the bananas until it is a smooth mixture.
We do not want any lumps of banana in the bars as this can give them a soggy consistency. I use a fork but you can also use a potato masher if preferred.
Once the banana mixture is smooth add all of the other wet ingredients and mix until well combined.
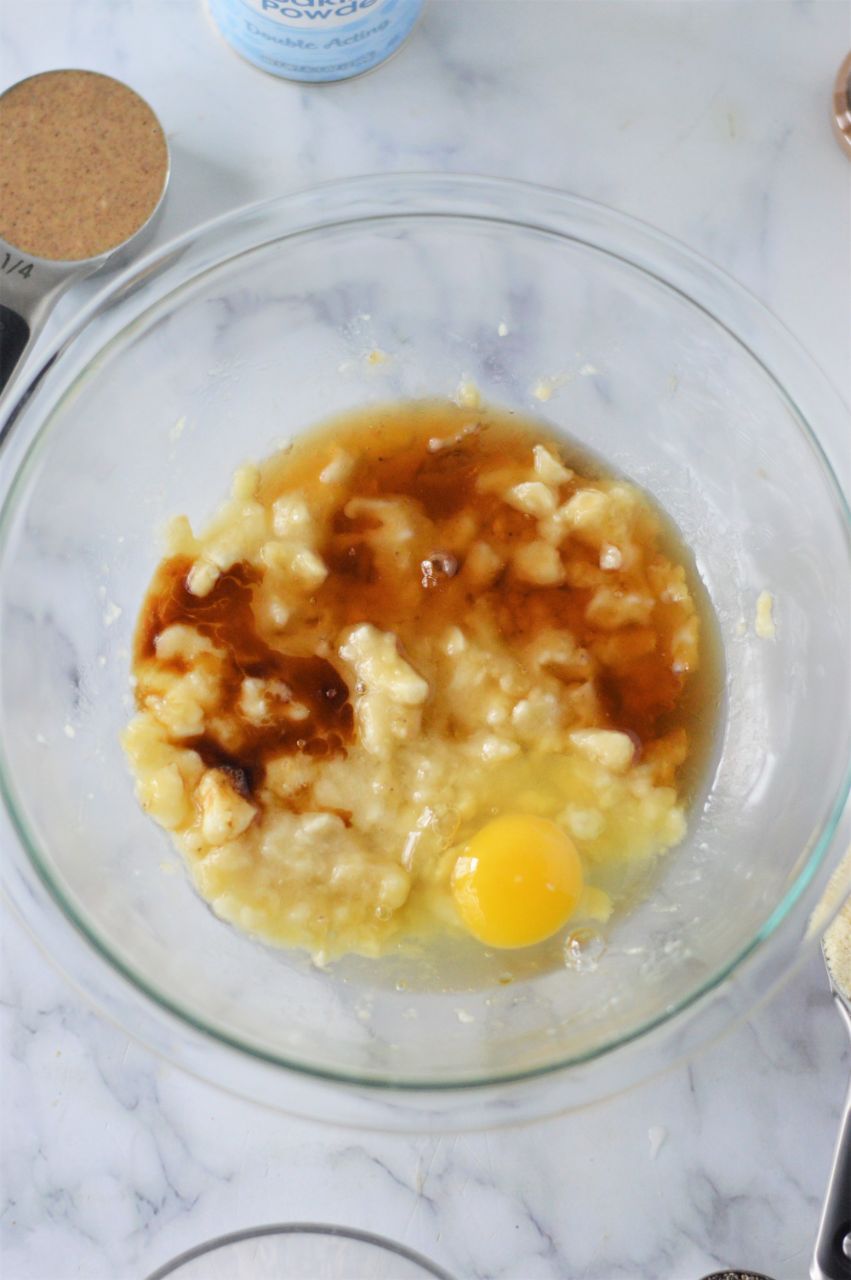
You can use a food processor for this step if you would like to make sure it is super smooth, however, it is easy enough to do by hand so I would not recommend giving yourself the extra dishes.
Add in the dry ingredients and mix again until they are completely coated with the wet mixture.
Press the mixture into the silicone pan or whatever baking dish you decide to use.
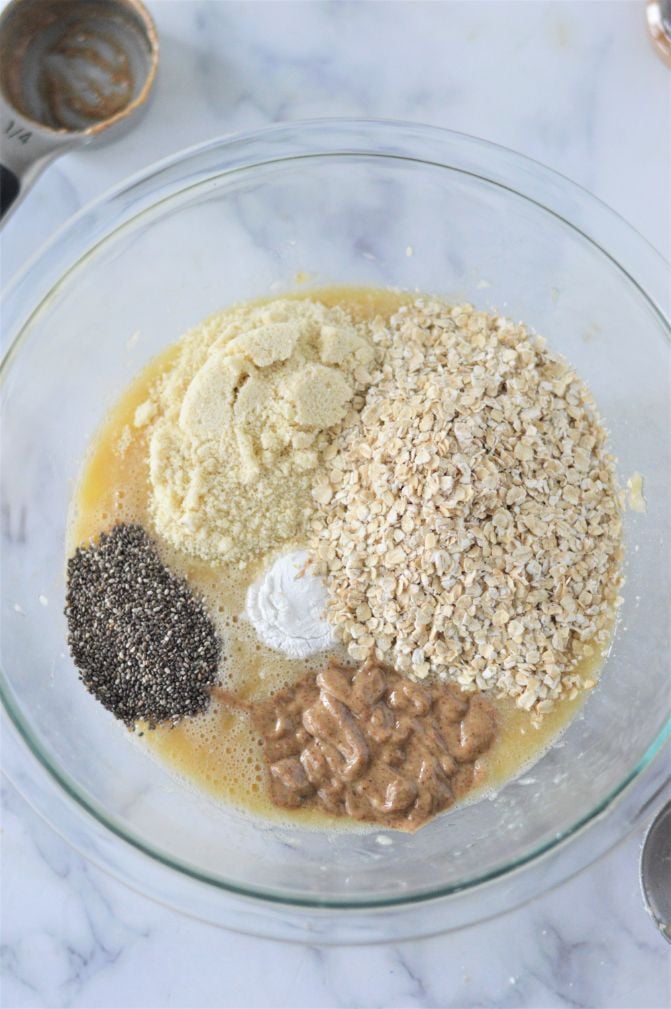
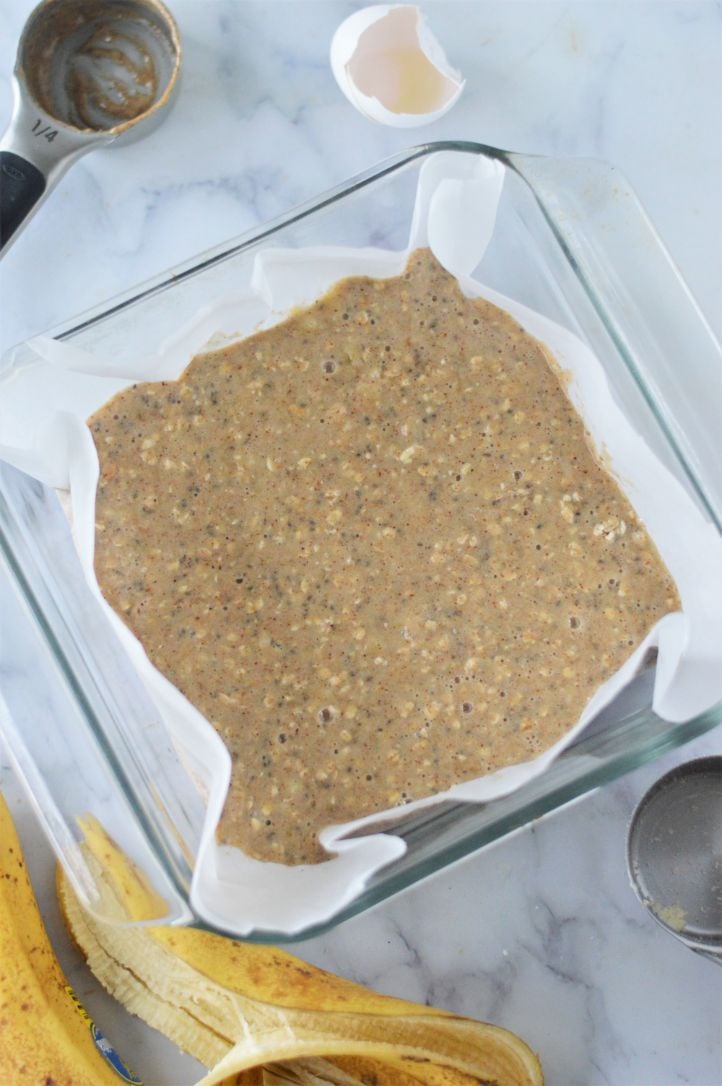
Use a silicone spatula (it can help to run it under warm water first) to spread the mixture into the pan so that it is filling the pan evenly and is completely flat on top.
Pop the whole thing into the oven for about 25-30 minutes and allow it to cook until it is golden brown and crunchy on top and a toothpick inserted comes out clean.
Don't be afraid to pop them back into the oven for a couple of extra minutes if needed.
For best results, allow the banana bars to cool in the pan for about 5 minutes before transferring them to a wire rack and allowing them to cool completely (about 15-20 minutes).
Cut the bars into 8-12 even-sized pieces in bar form depending on how big you want them to be. Personally I make slightly bigger bars for the hubby and smaller ones for the kids.
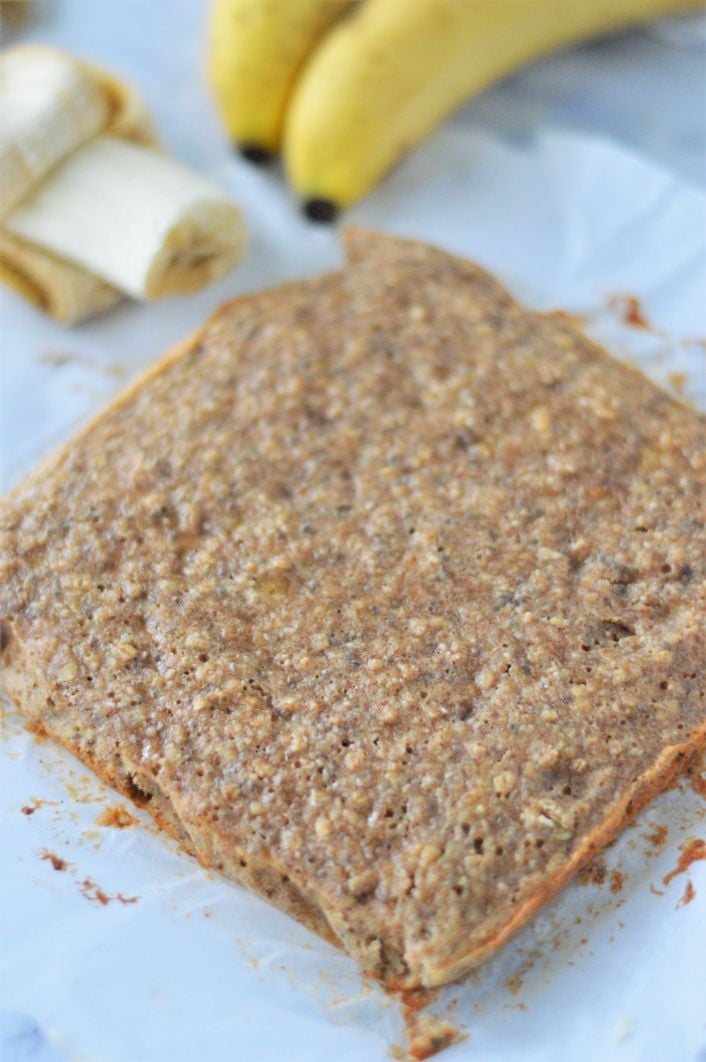
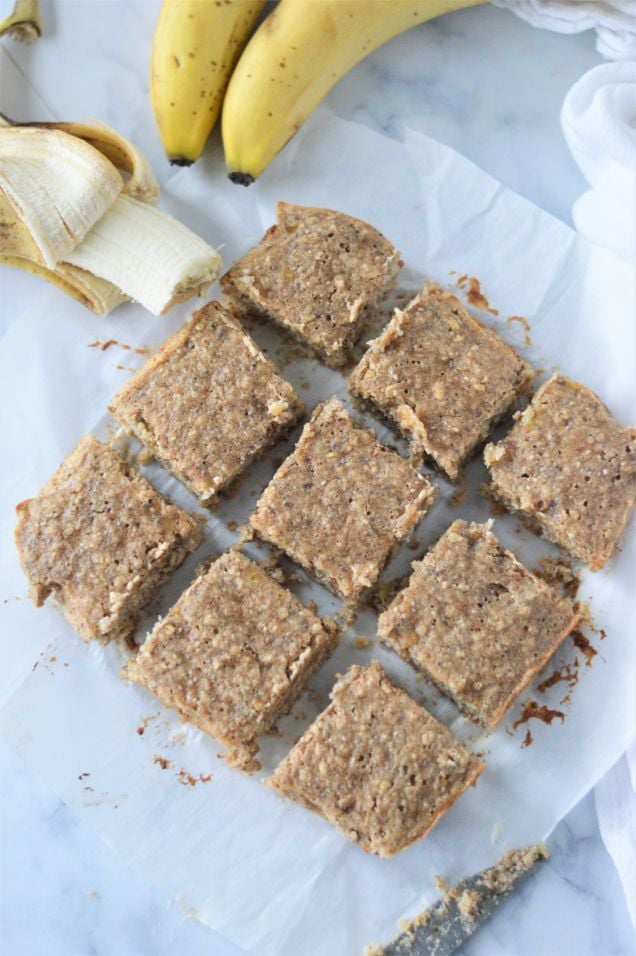
TIP: If you do not allow the bar to cool completely before cutting and removing it from the pan it may fall apart.
Storing and Freezing
Banana warrior bars should be stored in the fridge in an airtight container for up to 5 days.
After 5 days, if you have any bars left, or if you have made a double-batch, then these bars are perfect for freezing.
Freeze in a single layer before transferring to a Ziploc bag or other freezer-safe container to prevent them from sticking together.
They should freeze for up to 3 months.
TIP: it is important to cut the banana bars into even-sized pieces and freeze them in a single layer before popping them into a freezer-safe container so that they do not stick together. This makes it a lot easier to just grab out what you need.
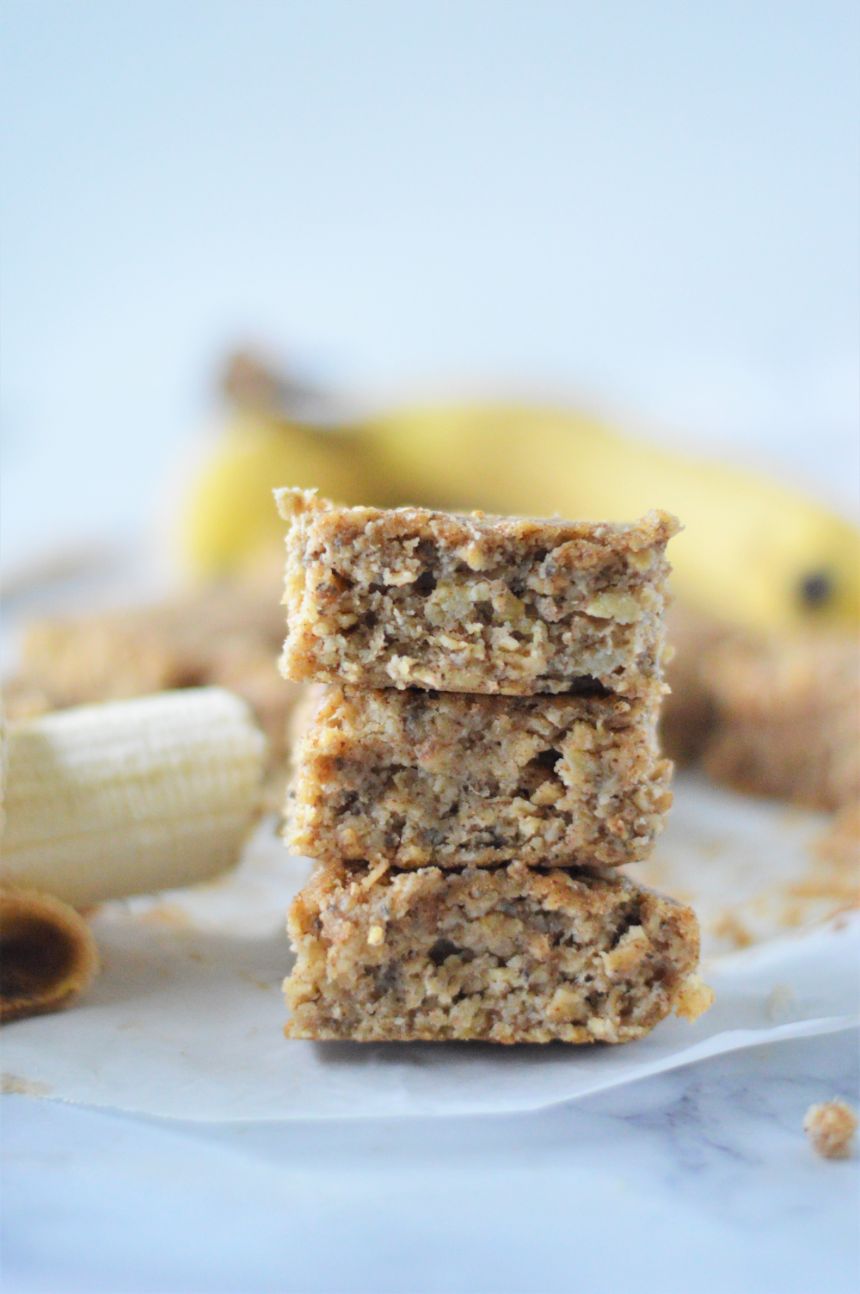
Serving Suggestions
My absolute favorite way to serve this bar is with a healthy topping of almond butter or drippy peanut butter spread on top.
I also love toasting it in the air-fryer slightly before adding the almond butter on top, especially if it is cold outside and I am craving something a bit more comforting.
These natural protein bars are also great:
- wrapped in beeswax or parchment paper and popped into the lunchbox;
- served with a dollop of thick strained yogurt on top for some extra protein and creaminess;
- cut the bar in half and sandwich some jam and nut butter in between to make a warrior bar sandwich with some extra sweetness;
- drizzle a little melted chocolate or Healthy Homemade Nutella Spread on top;
They also pair well with some Homemade Coconut Butter.
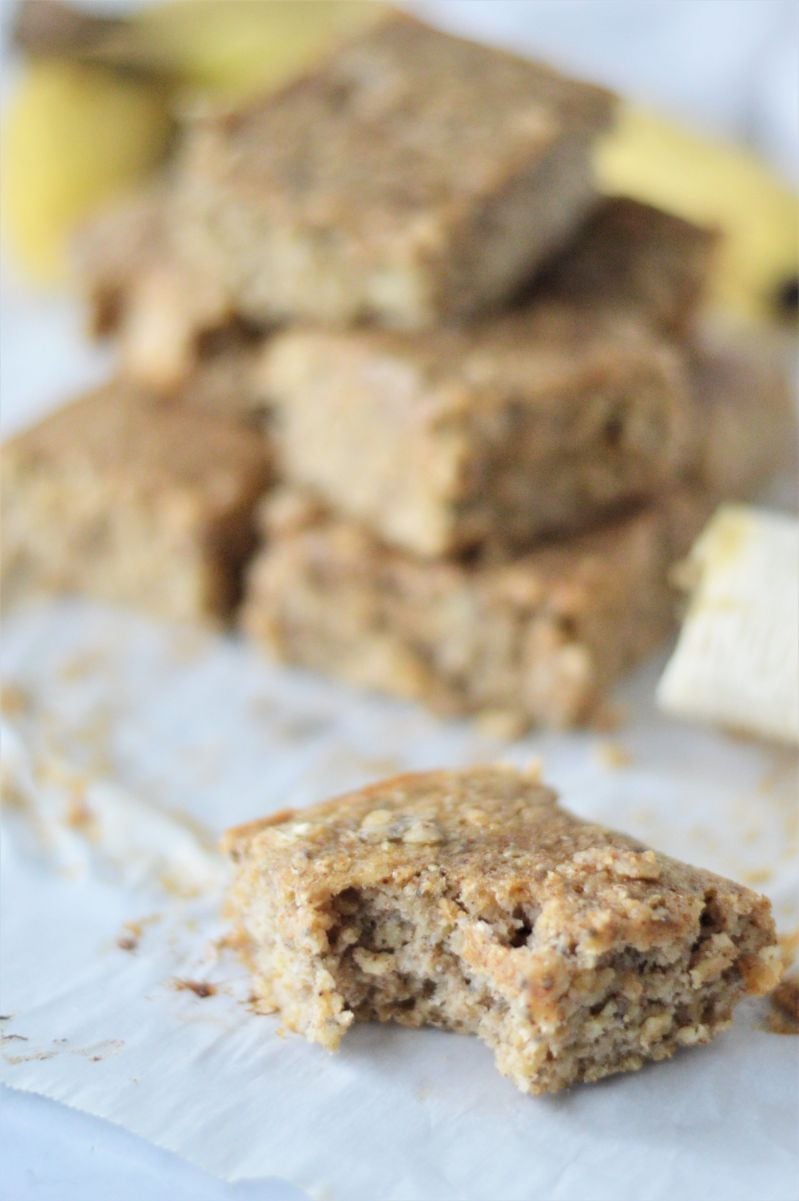
Tips Tricks and Substitutions
Want these little bars to be even more portable or kid-friendly?
Why not bake them in mini-muffin tins?
Simply follow the recipe as is, but place about a tablespoon of the mixture into a mini muffin tin, press down with a spoon and bake for about 15 minutes until they are slightly crunchy on top.
Don't like bananas?
You can replace the mashed bananas with an equal amount of pumpkin puree or applesauce instead (why not make your own applesauce).
Obviously, there will be no banana flavor if you choose this option.
Want more protein?
Simply add a scoop of your favorite protein powder when adding the other dry ingredients to the mixture. You may want to add some extra mashed banana to ensure the bars don't become too dry.
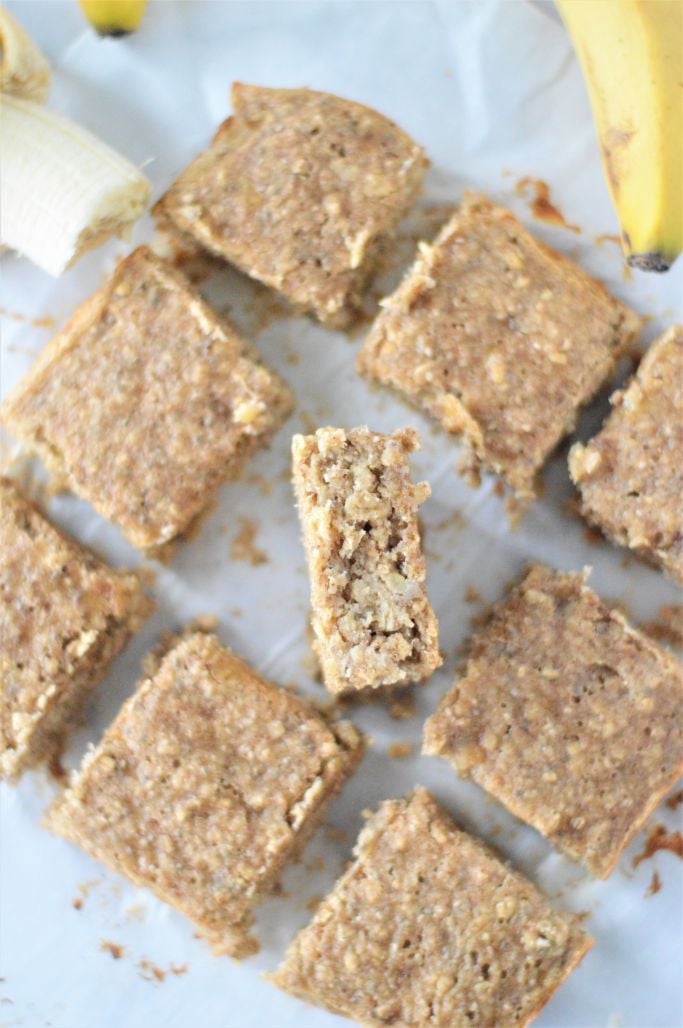
Need Another Homemade Granola Bar Recipe?
Having healthy filling snack recipes like these almond butter banana bread bars on hand can be an absolute lifesaver when it comes to busy weeks.
Once you have mastered this great recipe, why not try one of these homemade granola bars next time you feel like whipping up a healthy homemade snack:
- Grab and Go Coconut and Blueberry Oatmeal Bars
- Honey Almond and Tahini Healthy No-Bake Granola Bars
- Peanut Butter Choc Chip Bars
- Crunchy Quinoa Chocolate Superfood Bars
- or for something different why not try this chocolate chia pudding from Fit as a Mama Bear
Frequently Asked Questions
My personal favorite way to serve banana bread bars is to toast these banana bread bars lightly in the air fryer and then top them with some extra almond butter for a comforting snack. They also work well with a scoop of thickened yogurt on top.
These almond butter bars are also great for school and work lunch boxes as they are easily transportable and filling.
These bars should be stored in an airtight container in the fridge for 3-5 days.
After this, they can also be frozen for up to 6 months. Freeze in a single layer before transferring to a Ziploc bag to ensure they do not stick together.
I do not add protein to this recipe as it is a family-friendly recipe. However, if you would like to add a couple more grams of protein I would suggest adding a scoop of your favorite protein powder (vanilla protein powder would go best) and serving the bars with an extra dollop of almond butter.
I hope you enjoy these delicious snack bars as much as we do! Please leave a 5 star rating on the recipe card or comment below.
Happy Eating.
xx
Recipe
Almond Butter Banana Oatmeal Protein Bar
Clicking any equipment link above will earn me a small commission at no extra cost to you.
Ingredients
- 2 ripe bananas mashed (about 1 ⅓ cups)
- 1 egg
- ¼ cup almond butter (at room temperature or runny)
- 3 tablespoons pure maple syrup
- 1 teaspoon pure vanilla extract
- ½ cup rolled oats
- ⅓ cup almond flour
- 1 tablespoon chia seeds
- 1 teaspoon baking powder
- ½ teaspoon ground cinnamon
- pinch of salt
Instructions
- Preheat oven to 350F (180C).
- Line a 9"x13" baking pan with parchment paper (no need to line if using a silicone baking pan).
- In a large bowl combine the mashed banana, egg, almond butter, maple syrup, and vanilla extract until completely smooth.
- Add the oats, almond flour, chia seeds, baking soda, cinnamon, and salt and mix well until the dry ingredients are completely coated with the banana mixture.
- Press the mixture into the prepared pan. Use a silicone spatula to evenly flatten the mixture.
- Bake for about 25-30 minutes, or until the slice is golden on top and a toothpick inserted comes out clean.
- Remove from the oven and allow the bars to cool for about 5 minutes in the silicone pan before moving them to a wire rack to cool completely.
- Once completely cool cut into 12 even-sized bars.
Notes
Nutrition
The information shown is an estimate provided by an online nutrition calculator. It should not be considered a substitute for a professional nutritionist’s advice.


Millie says
Great recipe but….. all banana sizes are not created equal. How much, in cups, of mashed banana do I need.
Donna says
Hi Millie, it is about 1 1/3 cups of banana. I have updated the recipe to reflect this.
Tina Reneberg says
How much mashed banana does the recipe call for in cups? Since they vary in size, it would be helpful for me to know how much banana not how many do I don’t mess up the recipe and not get the results I was hoping for.
Thank you!
Donna says
Hi Tina, thanks for asking this question. It is about 1 1/3 cups of mashed banana.
Laur says
Hi, in the recipe it says baking soda but the photo of the ingredients show baking powder. Just want to know which one you used? Thanks!
Donna says
Hi Laur, thanks for pointing out that mistake, it is baking powder, and I have updated the recipe to fix that mistake.
RialedUp says
It still says baking soda in the recipe…
Donna says
It says baking powder on my side of things, if you had the recipe saved and have been pulling it up from your history you may need to clear your cache.
Alex Bala says
These are great for pre and post workouts. I love that I can make the ahead of time and they are easy to pack and go. Delicious!
Sherry says
Your bar recipe was so easy to make and a great healthy snack for my little ones. Thank you for a great recipe!!
Mandy Applegate says
These almond butter banana oatmeal bars are the perfect snack! They're easy to make and so delicious. I love that they're packed with healthy ingredients like oats, almond butter, and bananas. They're the perfect on-the-go snack for when I'm feeling hungry.
Elizabeth Swoish says
These were so easy and delicious. Everyone loved them, will be making again.